
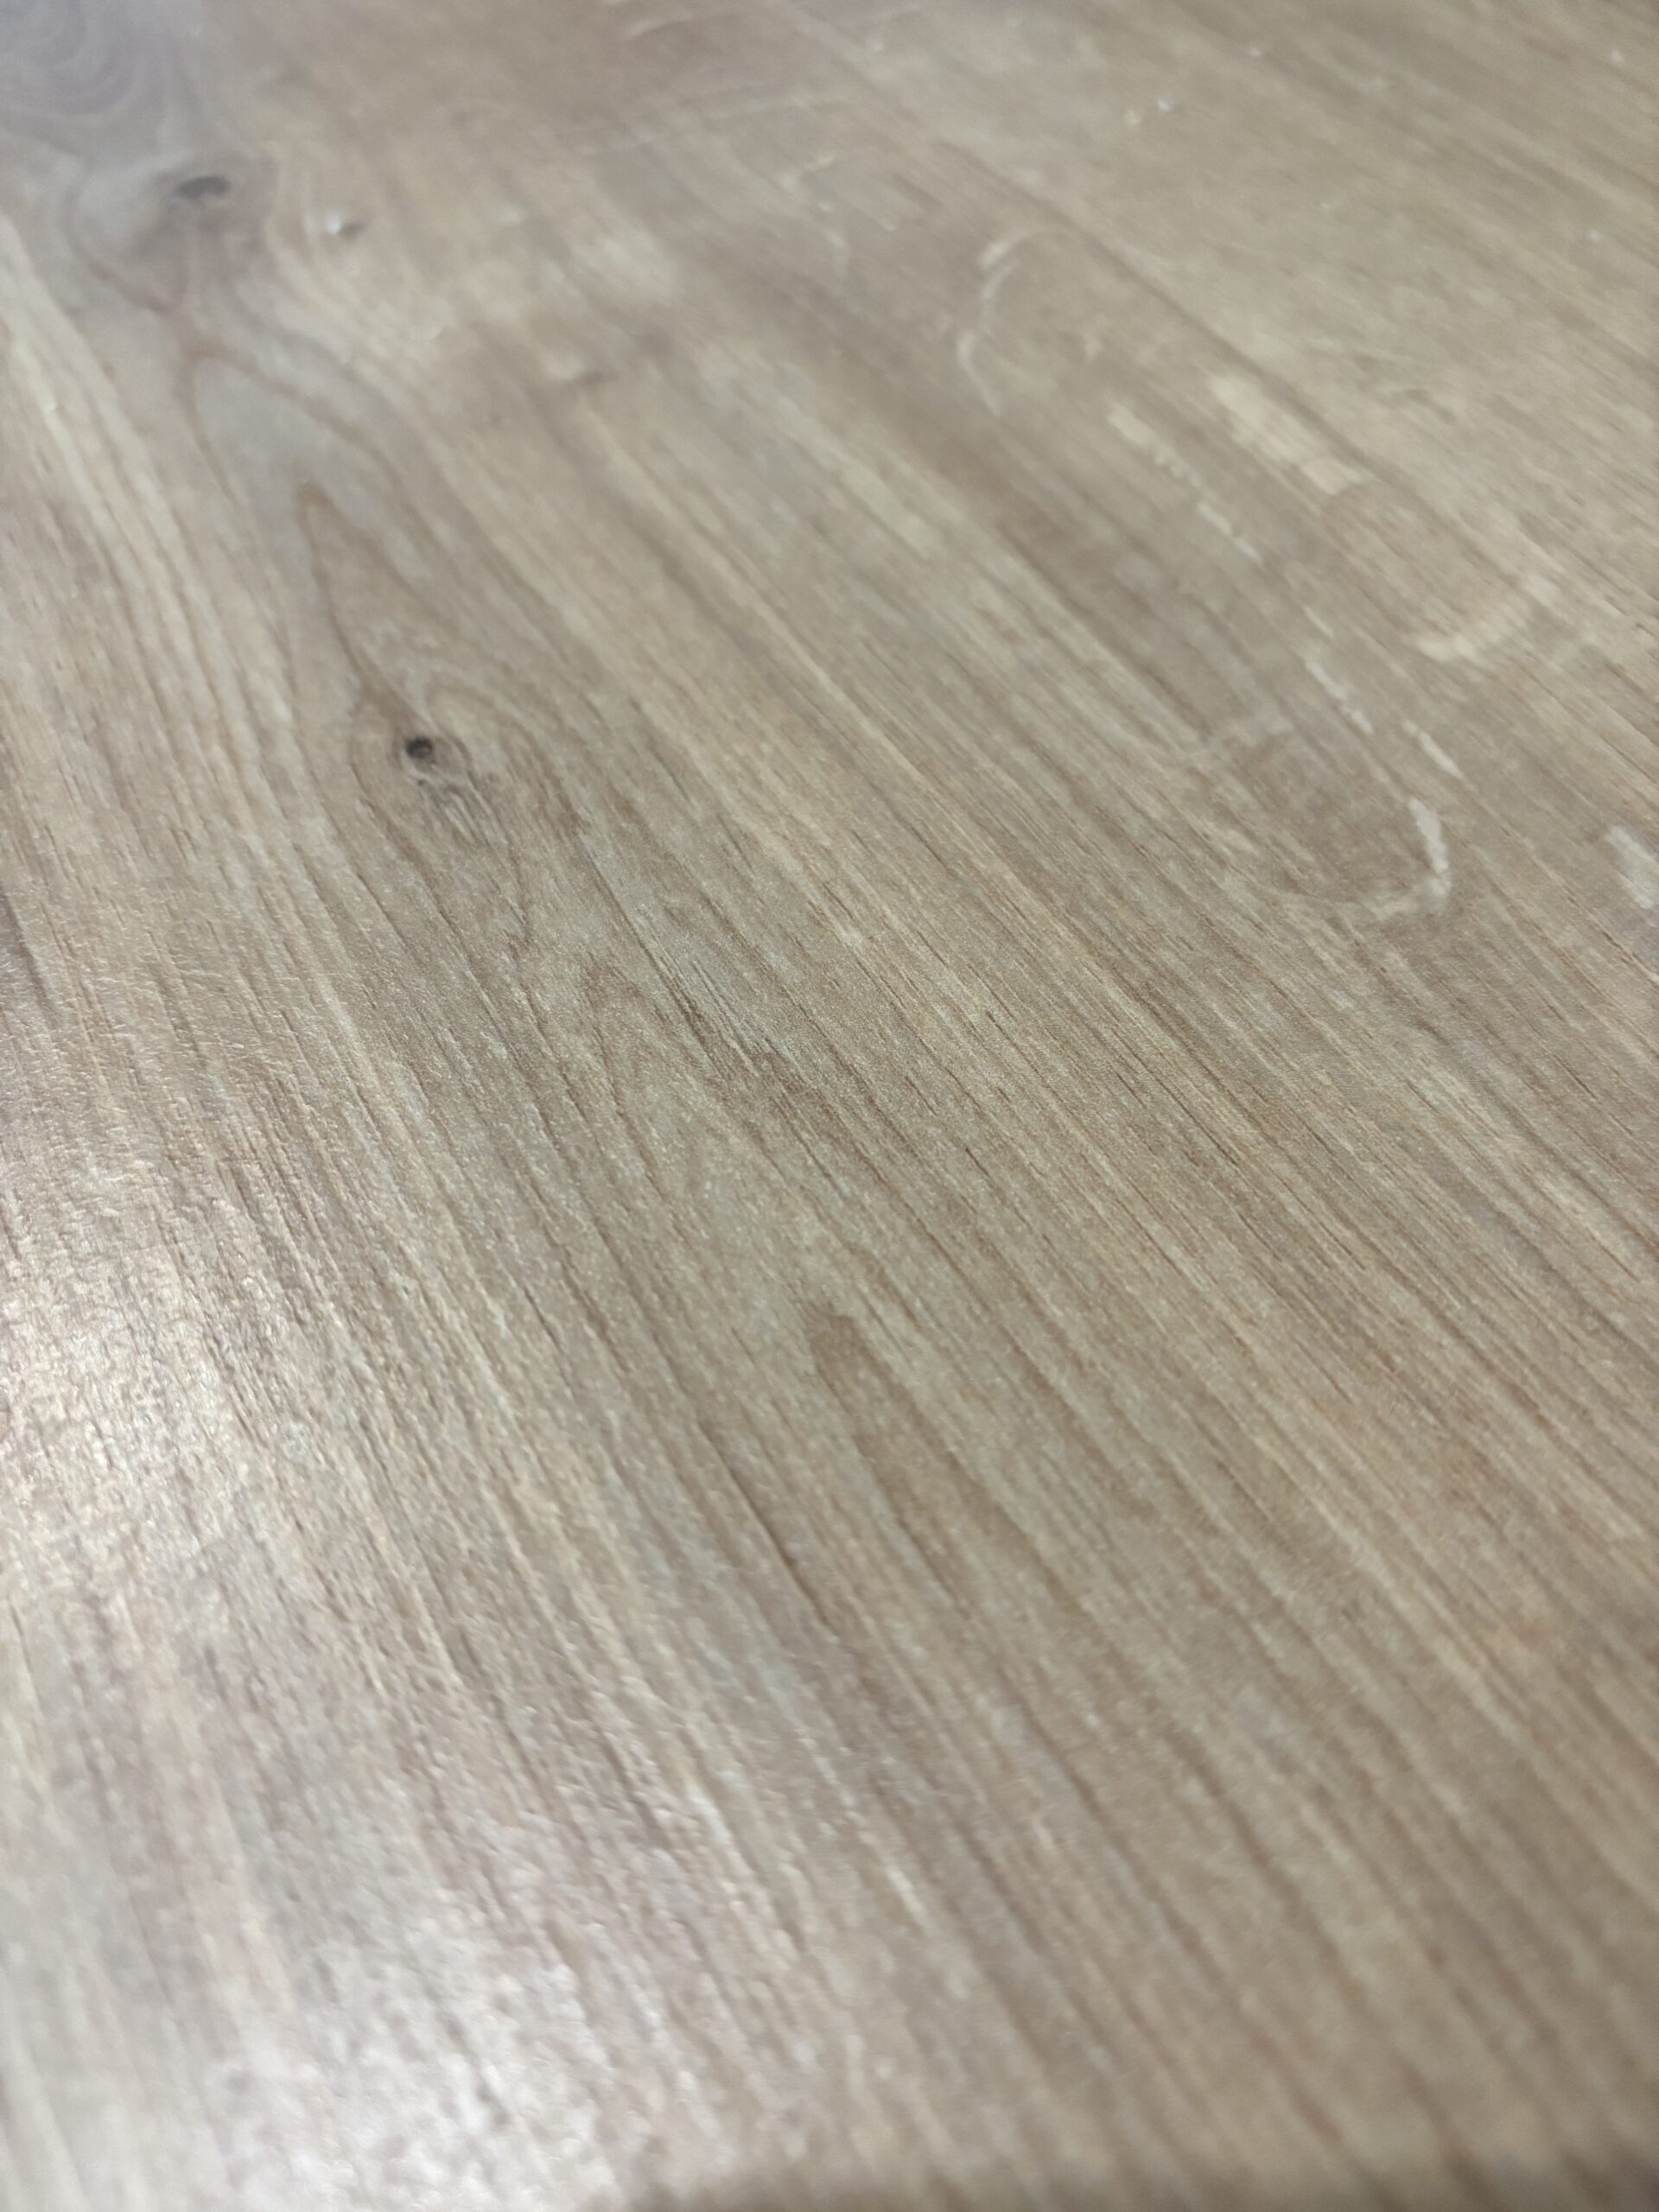
Wood and epoxy resin are a fantastic combination. From river tables and serving boards to resin coasters, clocks, shelves and decorative projects, combining natural wood with colourful or crystal-clear resin can create stunning results.
But before you pour your resin, there’s an important step you shouldn’t skip: Seal the wood.
Sealing wood before applying epoxy resin helps prevent the wood from releasing air into the resin, reduces bubbles and can help stop resin from soaking into the timber.
It can also help prevent resin from leaking through cracks, holes and porous areas of the wood.
In this guide, we’ll explain how to seal wood before resin, which products you can use and how to prepare your timber for a successful epoxy resin pour.
Why Do You Need to Seal Wood Before Epoxy Resin?
Wood is porous.
Even timber that looks smooth can contain thousands of tiny pores, cracks and gaps.
When you pour epoxy resin directly onto untreated wood, the resin can penetrate into these pores.
At the same time, air trapped inside the timber can escape into the resin as it cures.
This can create lots of tiny bubbles.
You may notice bubbles appearing:
- Around the edges of the wood
- Inside cracks and knots
- Underneath the timber
- Around bark
- In porous areas
- Throughout the resin surface
Sealing the wood creates a barrier between the timber and the epoxy.
Sealing wood can help to:
- Reduce bubbles
- Prevent resin soaking into the timber
- Reduce resin leakage
- Stabilise porous wood
- Improve the appearance of the finished project
- Make your resin pour more predictable
- Reduce the amount of resin required
What Happens If You Don’t Seal Wood Before Resin?
Pouring epoxy directly onto unsealed wood can sometimes work, but it can make the project much harder to control.
The resin may soak into the timber rather than sitting on the surface.
You can also end up with areas where the resin appears to have disappeared into the wood.
One of the biggest problems is trapped air.
As the resin warms during curing, air inside the wood can expand and escape.
Those escaping air bubbles then become trapped in the epoxy.
This can leave you with a finish covered in small bubbles.
And once the resin has started curing, removing them can be difficult.
That’s why prevention is much easier than trying to fix bubbles later.
How Do You Seal Wood Before Using Resin?
The basic process is:
- Prepare the wood
- Clean the surface
- Choose an appropriate sealer
- Apply a thin coat
- Allow it to dry or cure completely
- Lightly sand if required
- Clean away the dust
- Apply a second coat if necessary
- Pour your epoxy resin
Let’s look at each step.
Step 1: Prepare Your Wood
Before sealing, make sure your timber is properly prepared.
Remove any loose material, dirt, dust or debris.
If you’re using reclaimed wood, pay particular attention to:
- Loose bark
- Dirt
- Old finishes
- Paint
- Grease
- Sawdust
- Loose knots
- Crumbling areas
If you’re using a piece of wood with bark attached, make sure the bark is firmly attached.
Loose bark can lift away during the resin pour and create problems later.
Step 2: Sand the Wood
Sand the surface before sealing it.
The grit you use will depend on the project and the type of finish you’re trying to achieve.
For many projects, you might start with a relatively coarse grit to remove imperfections and then work towards a finer grit.
For example:
80 → 120 → 180 → 240 grit
You don’t necessarily need to use every grit.
The important thing is to create a clean, smooth and consistent surface appropriate for your project.
Don’t forget the edges
Edges and end grain can be particularly porous.
End grain can absorb resin and sealer much more readily than the face of the timber.
Pay particular attention to:
- End grain
- Cracks
- Knots
- Holes
- Live edges
- Cut edges
Step 3: Remove the Dust
After sanding, remove all the dust.
This is an important step.
Dust left on the surface can become trapped underneath your resin.
Use a suitable dust-removal method and make sure the timber is completely clean before applying your sealer.
Avoid leaving the wood damp.
The timber needs to be properly dry before you apply resin.
Step 4: Choose a Wood Sealer
There are several products that can potentially be used to seal wood before epoxy resin.
However, not every wood finish is suitable for use underneath epoxy resin.
Always check the manufacturer’s instructions for both the sealer and your epoxy resin.
Some commonly used options include:
Epoxy resin
One of the simplest approaches is to use a small amount of your epoxy resin as a seal coat.
You apply a thin layer to the wood and allow it to cure before doing the main pour.
This creates an epoxy barrier over the timber.
Clear spray sealer
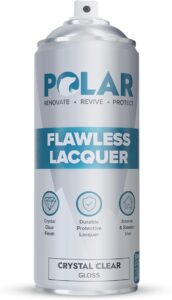
Some resin artists use compatible clear acrylic or lacquer sprays as a barrier coat. We use this one from Amazon.
If using a spray, make sure the manufacturer confirms that it is suitable for your intended application and test it first.
Wood sealer
Some dedicated wood sealers can also be used, but compatibility is important.
A sealer containing oils, waxes or other substances that interfere with epoxy adhesion may cause problems.
Always test your chosen combination on a scrap piece of wood before using it on an expensive project.
Can You Use Epoxy Resin to Seal Wood?
Yes.
Using epoxy resin as a seal coat is probably the most popular method.
The idea is to apply a thin coat of mixed epoxy over the wood before carrying out the main pour.
The resin fills some of the pores in the timber and creates a barrier.
How to use epoxy as a seal coat
- Mix your epoxy according to the manufacturer’s instructions.
- Apply a thin layer to the wood.
- Work the resin across the entire surface.
- Pay particular attention to cracks and porous areas.
- Allow the seal coat to cure according to the resin manufacturer’s instructions.
- Check the surface.
- Sand lightly if necessary.
- Remove sanding dust.
- Apply your main resin pour.
You don’t need a thick layer.
The purpose is to seal the surface, rather than create the final resin coating.
Should You Seal Both Sides of the Wood?
This depends on your project.
If you’re creating a resin table or deep-pour project, sealing all exposed surfaces that could come into contact with resin can be beneficial.
Think about:
- Top
- Bottom
- Sides
- End grain
- Cracks
- Knots
- Cut edges
If resin can reach a porous area, consider whether it needs sealing.
This is particularly important for projects where resin could seep underneath the timber.
How Many Coats of Sealer Should You Use?
There’s no universal number.
It depends on:
- The type of wood
- How porous it is
- The condition of the timber
- The type of sealer
- How thick your resin pour will be
Very porous timber may require more than one thin coat.
Rather than applying one very thick coat, several thin coats can often provide better control.
Always follow the instructions for the specific product you’re using.
How Long Should You Wait Before Pouring Resin?
This depends entirely on the product you’ve used.
If you’re using epoxy resin as your seal coat, follow the resin manufacturer’s instructions for the next layer.
Some epoxy systems allow a subsequent coat within a particular recoat window, while others require the previous layer to cure more fully and be sanded.
If you’re using another type of sealer, follow its drying and curing instructions.
Don’t rush this stage.
If the sealer hasn’t properly dried or cured, you could experience:
- Poor adhesion
- Cloudiness
- Soft spots
- Surface defects
- Fish eyes
- Cracking
- Resin separation
When in doubt, give it more time rather than less.
Does Sealing Wood Prevent Resin Bubbles?
It can significantly reduce the amount of bubbling caused by porous timber, but it doesn’t guarantee a completely bubble-free pour.
Bubbles can also come from:
- Incorrect mixing
- Mixing too quickly
- Resin temperature
- Pigments
- Moisture
- Moulds
- Trapped air
- Pouring technique
Sealing the timber tackles one of the major sources of bubbles: air escaping from the wood.
What About Knots and Cracks in Wood?
Knots, cracks and holes can be particularly troublesome.
They can contain pockets of air and can be much more porous than the surrounding timber.
Before your main pour, make sure these areas are thoroughly sealed.
For particularly large cracks or voids, you may need to use a suitable resin or filler system before carrying out the main pour.
Don’t assume that simply brushing over the surface once will seal a deep crack.
Should You Seal Live Edge Wood?
Yes, sealing live edge wood before an epoxy pour is particularly important.
Live edge timber often has an irregular surface with:
- Open pores
- Cracks
- Knots
- Bark
- Voids
- Uneven edges
These areas can trap air and allow resin to escape.
Before pouring:
Inspect the entire live edge carefully.
Remove anything loose and make sure the areas that will contact the resin are properly sealed.
Can You Use PVA Glue to Seal Wood for Epoxy Resin?
This is a common question.
Some resin crafters use PVA-based products as a barrier coat, but it can often prevent your resin from adhering to the wood.
For most resin projects, using a compatible epoxy seal coat is a more straightforward option.
Can You Use Mod Podge to Seal Wood Before Resin?
Like PVA glue you want to use a product such as Mod Podge, check the manufacturer’s guidance and carry out a test before using it on your finished project.
A small test piece can save you from ruining a much larger resin project.
What Is the Best Sealer for Wood Before Epoxy Resin?
There isn’t one universal “best” sealer.
But, for most epoxy projects, a compatible epoxy resin used as a thin seal coat is a practical option.
However, the best approach depends on:
- The type of wood
- The resin you’re using
- The intended finish
- Whether you’re doing a tabletop, coaster, artwork or deep pour
- Whether the wood has bark
- How porous the timber is
Always check the compatibility of the products you’re using.
How to Seal Wood Before a Deep-Pour Resin Project
Deep-pour projects require particularly careful preparation.
Before starting your main pour:
1. Prepare the timber
Remove loose bark and debris.
2. Sand the surface
Create a clean surface suitable for your chosen finish.
3. Remove dust
Make sure the timber is clean and dry.
4. Seal porous areas
Apply a suitable seal coat to the wood.
5. Pay attention to the edges
Make sure the underside and edges cannot allow resin to escape.
6. Allow the seal coat to cure
Follow the manufacturer’s instructions.
7. Inspect the timber
Look for areas that still appear porous.
8. Apply another coat if necessary
Particularly porous wood may need additional sealing.
9. Check your mould
Make sure the mould is properly sealed and won’t leak.
10. Carry out the main pour
Once everything is ready, you can begin your epoxy pour.
Common Mistakes When Sealing Wood for Resin
❌ Pouring resin onto completely untreated wood
This can result in excessive bubbling and resin absorption.
❌ Using too much sealer
A thick seal coat can create its own problems.
❌ Not sealing the edges
Resin can escape through porous edges and end grain.
❌ Ignoring cracks and knots
These areas can hold significant amounts of air.
❌ Pouring before the sealer has cured
This can cause adhesion and curing problems.
❌ Using an incompatible finish
Oils, waxes and some coatings can interfere with epoxy adhesion.
❌ Skipping the test piece
Always test an unfamiliar combination of wood, sealer and resin before starting your main project.
Top Tips for Sealing Wood Before Resin
✔ Make sure the wood is dry
Moisture can cause problems with epoxy.
✔ Seal porous areas thoroughly
Pay particular attention to end grain and cracks.
✔ Use thin coats
Avoid creating an unnecessarily thick barrier.
✔ Follow the manufacturer’s instructions
This applies to both your resin and your sealer.
✔ Give it enough time
Don’t rush the curing process.
✔ Test first
A small piece of scrap timber is invaluable.
✔ Think about the entire project
Don’t just seal the top surface. Consider every area that will come into contact with resin.
Frequently Asked Questions
A compatible epoxy resin can be used as a thin seal coat on many wood-and-resin projects. Other sealers may also be suitable, but you should check compatibility with your epoxy and test the combination first.
It isn’t always absolutely necessary, but sealing porous wood is strongly recommended because it can reduce air bubbles and prevent resin from soaking into the timber.
Yes. A thin coat of mixed epoxy can be applied to wood as a seal coat before the main resin pour, provided it is compatible with your resin system.
There isn’t a fixed number. Very porous wood may need more than one thin coat. Inspect the surface and follow the resin manufacturer’s instructions.
The required time depends on the product. Follow the manufacturer’s specified drying, curing and re-coat times rather than relying on a general time.
It can significantly reduce bubbles caused by air escaping from porous wood, but it won’t prevent every possible source of bubbles.
Some crafters use PVA products, but compatibility varies. Check the specific product and test it before using it underneath epoxy.
Yes. Live edge wood can be particularly porous and may contain cracks, knots and voids that can release air or allow resin to escape.
Final Thoughts
Sealing wood before using epoxy resin is one of those simple preparation steps that can make a huge difference to your finished project.
By properly preparing and sealing the timber, you can reduce the amount of air escaping from the wood, minimise resin absorption and create a more predictable surface for your epoxy pour.
The key is to prepare the wood properly, use a compatible sealer, apply thin coats and allow everything to dry or cure properly before pouring your main layer of resin.
And remember: always test your resin, sealer and wood combination before committing to an expensive project.
A little preparation can save you a lot of resin — and a lot of frustration!
Read next