

Creating professional-looking epoxy resin jewelry, keychains, ornaments, and decorative pieces often requires clean, perfectly positioned holes for jump rings, cords, chains, or hardware. While drilling holes after curing is an option, lots of resin artists prefer using silicone hole makers to save time and to get cleaner results.
In this blog, we’ll explain what silicone hole makers are, how they work, and the best practices for using them in your epoxy resin projects (note – you can also use these for UV resin projects).
What Are Silicone Hole Makers?
Silicone hole makers are reusable silicone inserts designed to create holes in resin pieces during the curing process. They are typically shaped as small pegs, rods, or pins and are placed inside a resin mold before pouring the epoxy.
Once the resin has cured, the silicone insert is removed, leaving behind a smooth, ready-to-use hole without the need for drilling.
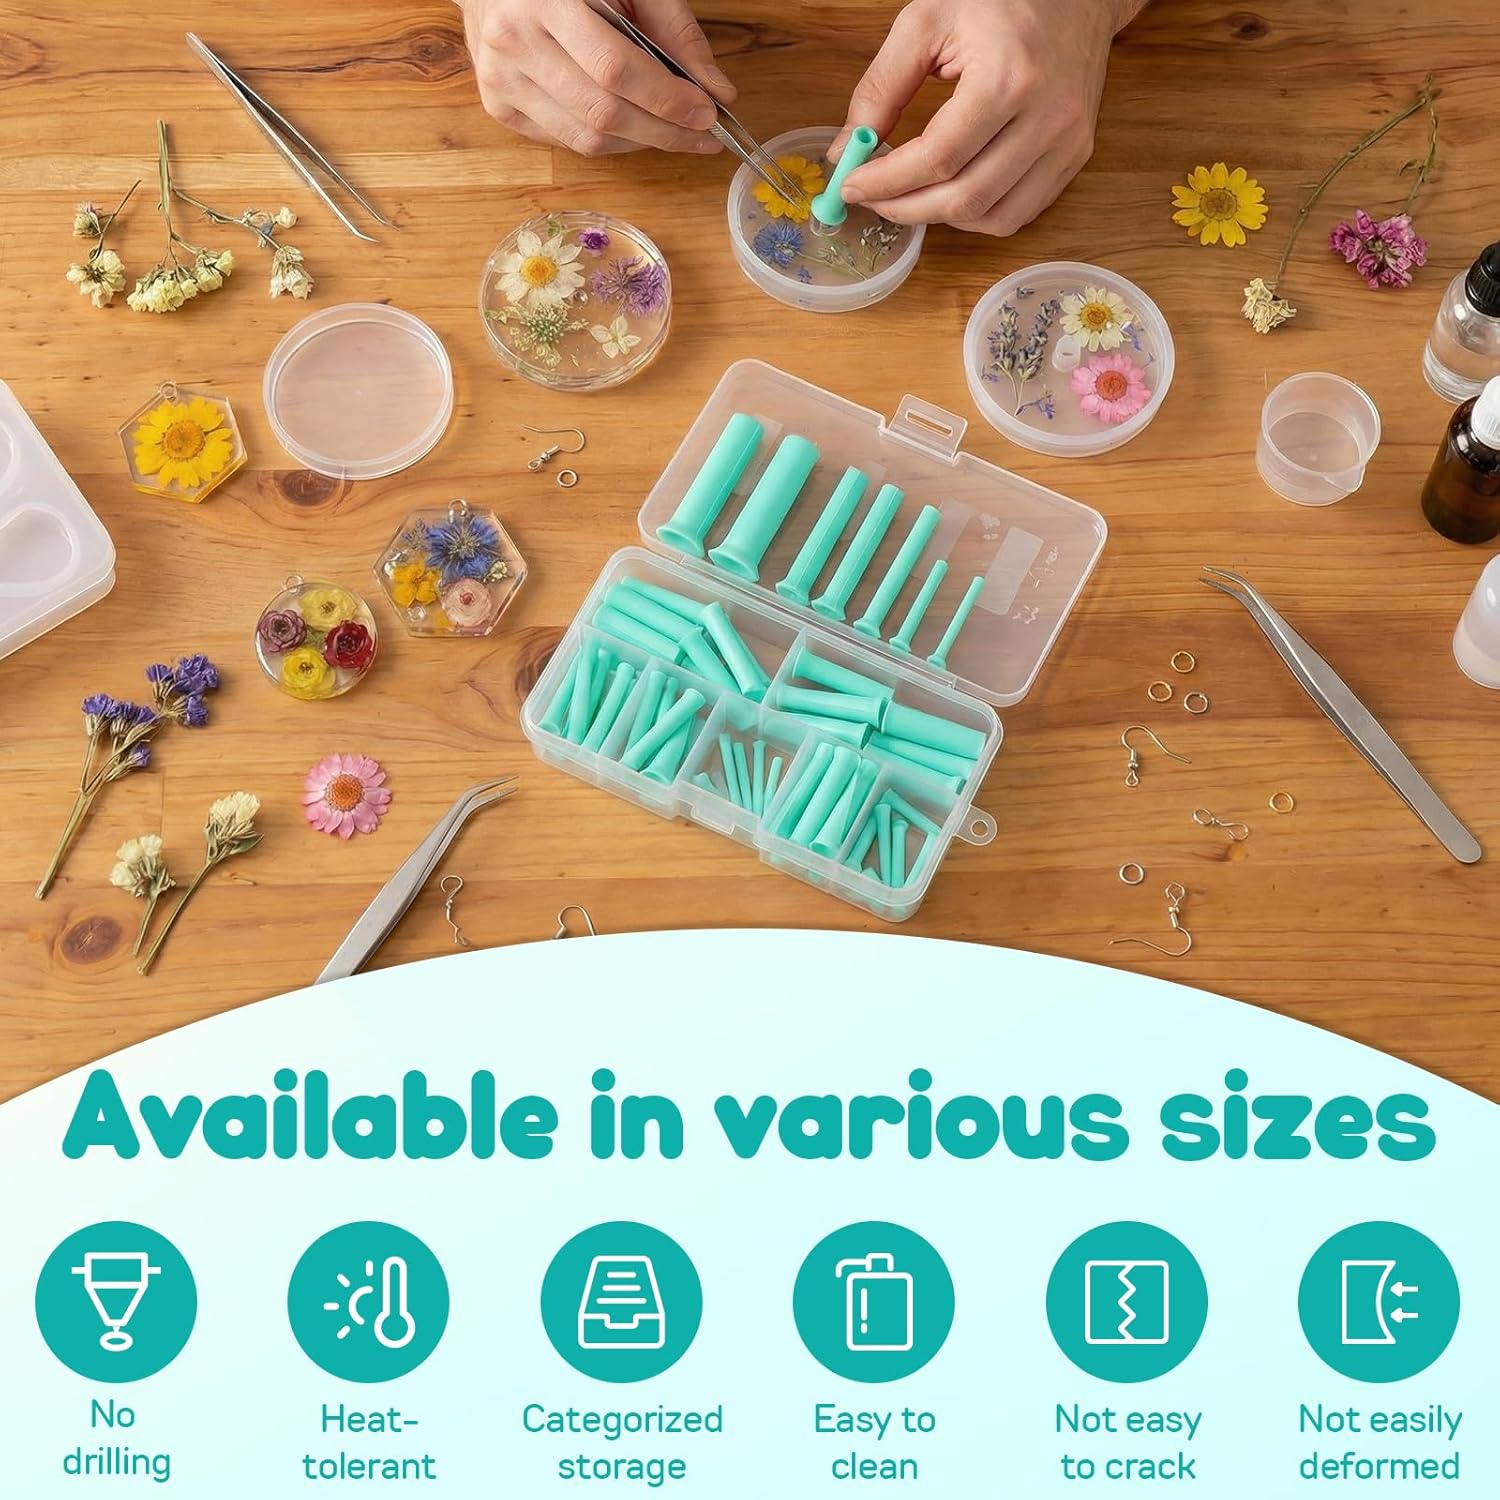
Get a 35 piece silicone hole maker set from Amazon. Suitable for both larger and smaller projects including earrings, necklaces, pendants and keyrings.
Benefits of Using Silicone Hole Makers
Many resin crafters prefer silicone hole makers because they offer several advantages:
– No Drilling Required
Drilling cured resin can be time-consuming and may cause cracks, chips, or uneven holes. Silicone hole makers eliminate this step entirely.
– Cleaner Finish
Because the hole is formed during curing, the edges are usually smoother and more professional-looking.
– Consistent Hole Placement
Using a hole maker ensures every piece has the same hole size and location, which is especially important when producing multiple items.
– Reduced Risk of Damage
Drilling can generate heat and stress that may damage delicate resin creations. Silicone inserts avoid this issue.
Materials You’ll Need
Before getting started, gather the following supplies:
- Epoxy resin and hardener
- Silicone mold
- Silicone hole maker inserts
- Mixing cups
- Stir sticks
- Protective gloves
- Heat gun or torch (optional for bubble removal)
- Decorative inclusions such as glitter, dried flowers, or pigments
Step-by-Step Guide to Using Silicone Hole Makers
Step 1: Prepare Your Mold
Ensure your silicone mold is clean, dry, and free from dust or debris. Any contamination can affect the finish of your resin piece.
Place the mold on a flat, level surface before pouring.
Step 2: Position the Silicone Hole Maker
Insert the silicone hole maker into the mold where you want the hole to appear.
Common placements include:
- Top center for pendants
- Upper corners for keychains
- Side positions for decorative tags
- Multiple locations for connectors or charms
Make sure the insert is securely positioned and not touching decorative elements you plan to embed.
Step 3: Mix Your Epoxy Resin
Follow the manufacturer’s instructions carefully when mixing resin and hardener.
Mix slowly to minimize air bubbles and scrape the sides and bottom of the mixing cup thoroughly to ensure proper blending.
Step 4: Pour the Resin
Carefully pour the mixed resin into the mold.
Pour slowly around the silicone hole maker to prevent shifting or trapping air pockets near the insert.
If bubbles appear, use a heat gun or torch briefly according to resin safety guidelines.
Step 5: Allow the Resin to Cure
Let the resin cure completely according to the recommended curing time.
Avoid moving the mold during this stage, as shifting may affect the position of the hole maker and result in uneven holes.
Step 6: Remove the Silicone Hole Maker
Once the resin is fully cured, gently remove the silicone insert.
Most silicone hole makers release easily due to their flexible, non-stick properties.
Pull slowly and carefully to avoid damaging the finished piece.
Step 7: Demold Your Resin Piece
Remove the cured resin item from the mold.
You should now have a clean, smooth hole ready for:
- Jump rings
- Necklace chains
- Earring hooks
- Keychain hardware
- Decorative cords
No drilling or additional finishing is usually required.
Tips for Best Results
– Use the Right Hole Size
Choose a hole maker that matches the hardware you’ll be using. A hole that’s too small may require additional work, while an oversized hole can weaken the piece.
– Prevent Insert Movement
If the insert tends to shift during pouring, secure it according to the mold design or pour resin gradually around it.
– Remove Bubbles Near the Hole
Air bubbles trapped around the silicone insert can affect the appearance and strength of the hole. Pour carefully and inspect the area before curing.
– Wait for Full Cure
Removing the insert too early may deform the hole or damage the resin.
– Clean Inserts After Use
Wash silicone hole makers with warm water and mild soap after each project to maintain their performance and extend their lifespan.
Common Mistakes to Avoid
– Overfilling the Mold
Excess resin can cover part of the hole maker, resulting in a blocked or incomplete hole.
– Moving the Mold During Curing
Movement can cause misaligned holes and uneven finishes.
– Using Damaged Inserts
Worn or torn silicone inserts may create irregular hole shapes.
– Pulling Too Hard During Removal
Always remove inserts gently to prevent cracking or stressing the cured resin.
Ideal Projects for Silicone Hole Makers
Silicone hole makers are particularly useful for:
- Resin keychains
- Jewelry pendants
- Earrings
- Bookmarks
- Gift tags
- Christmas ornaments
- Phone charms
- Decorative hanging pieces
They provide a fast and efficient way to create functional resin items that are ready for assembly immediately after curing.