
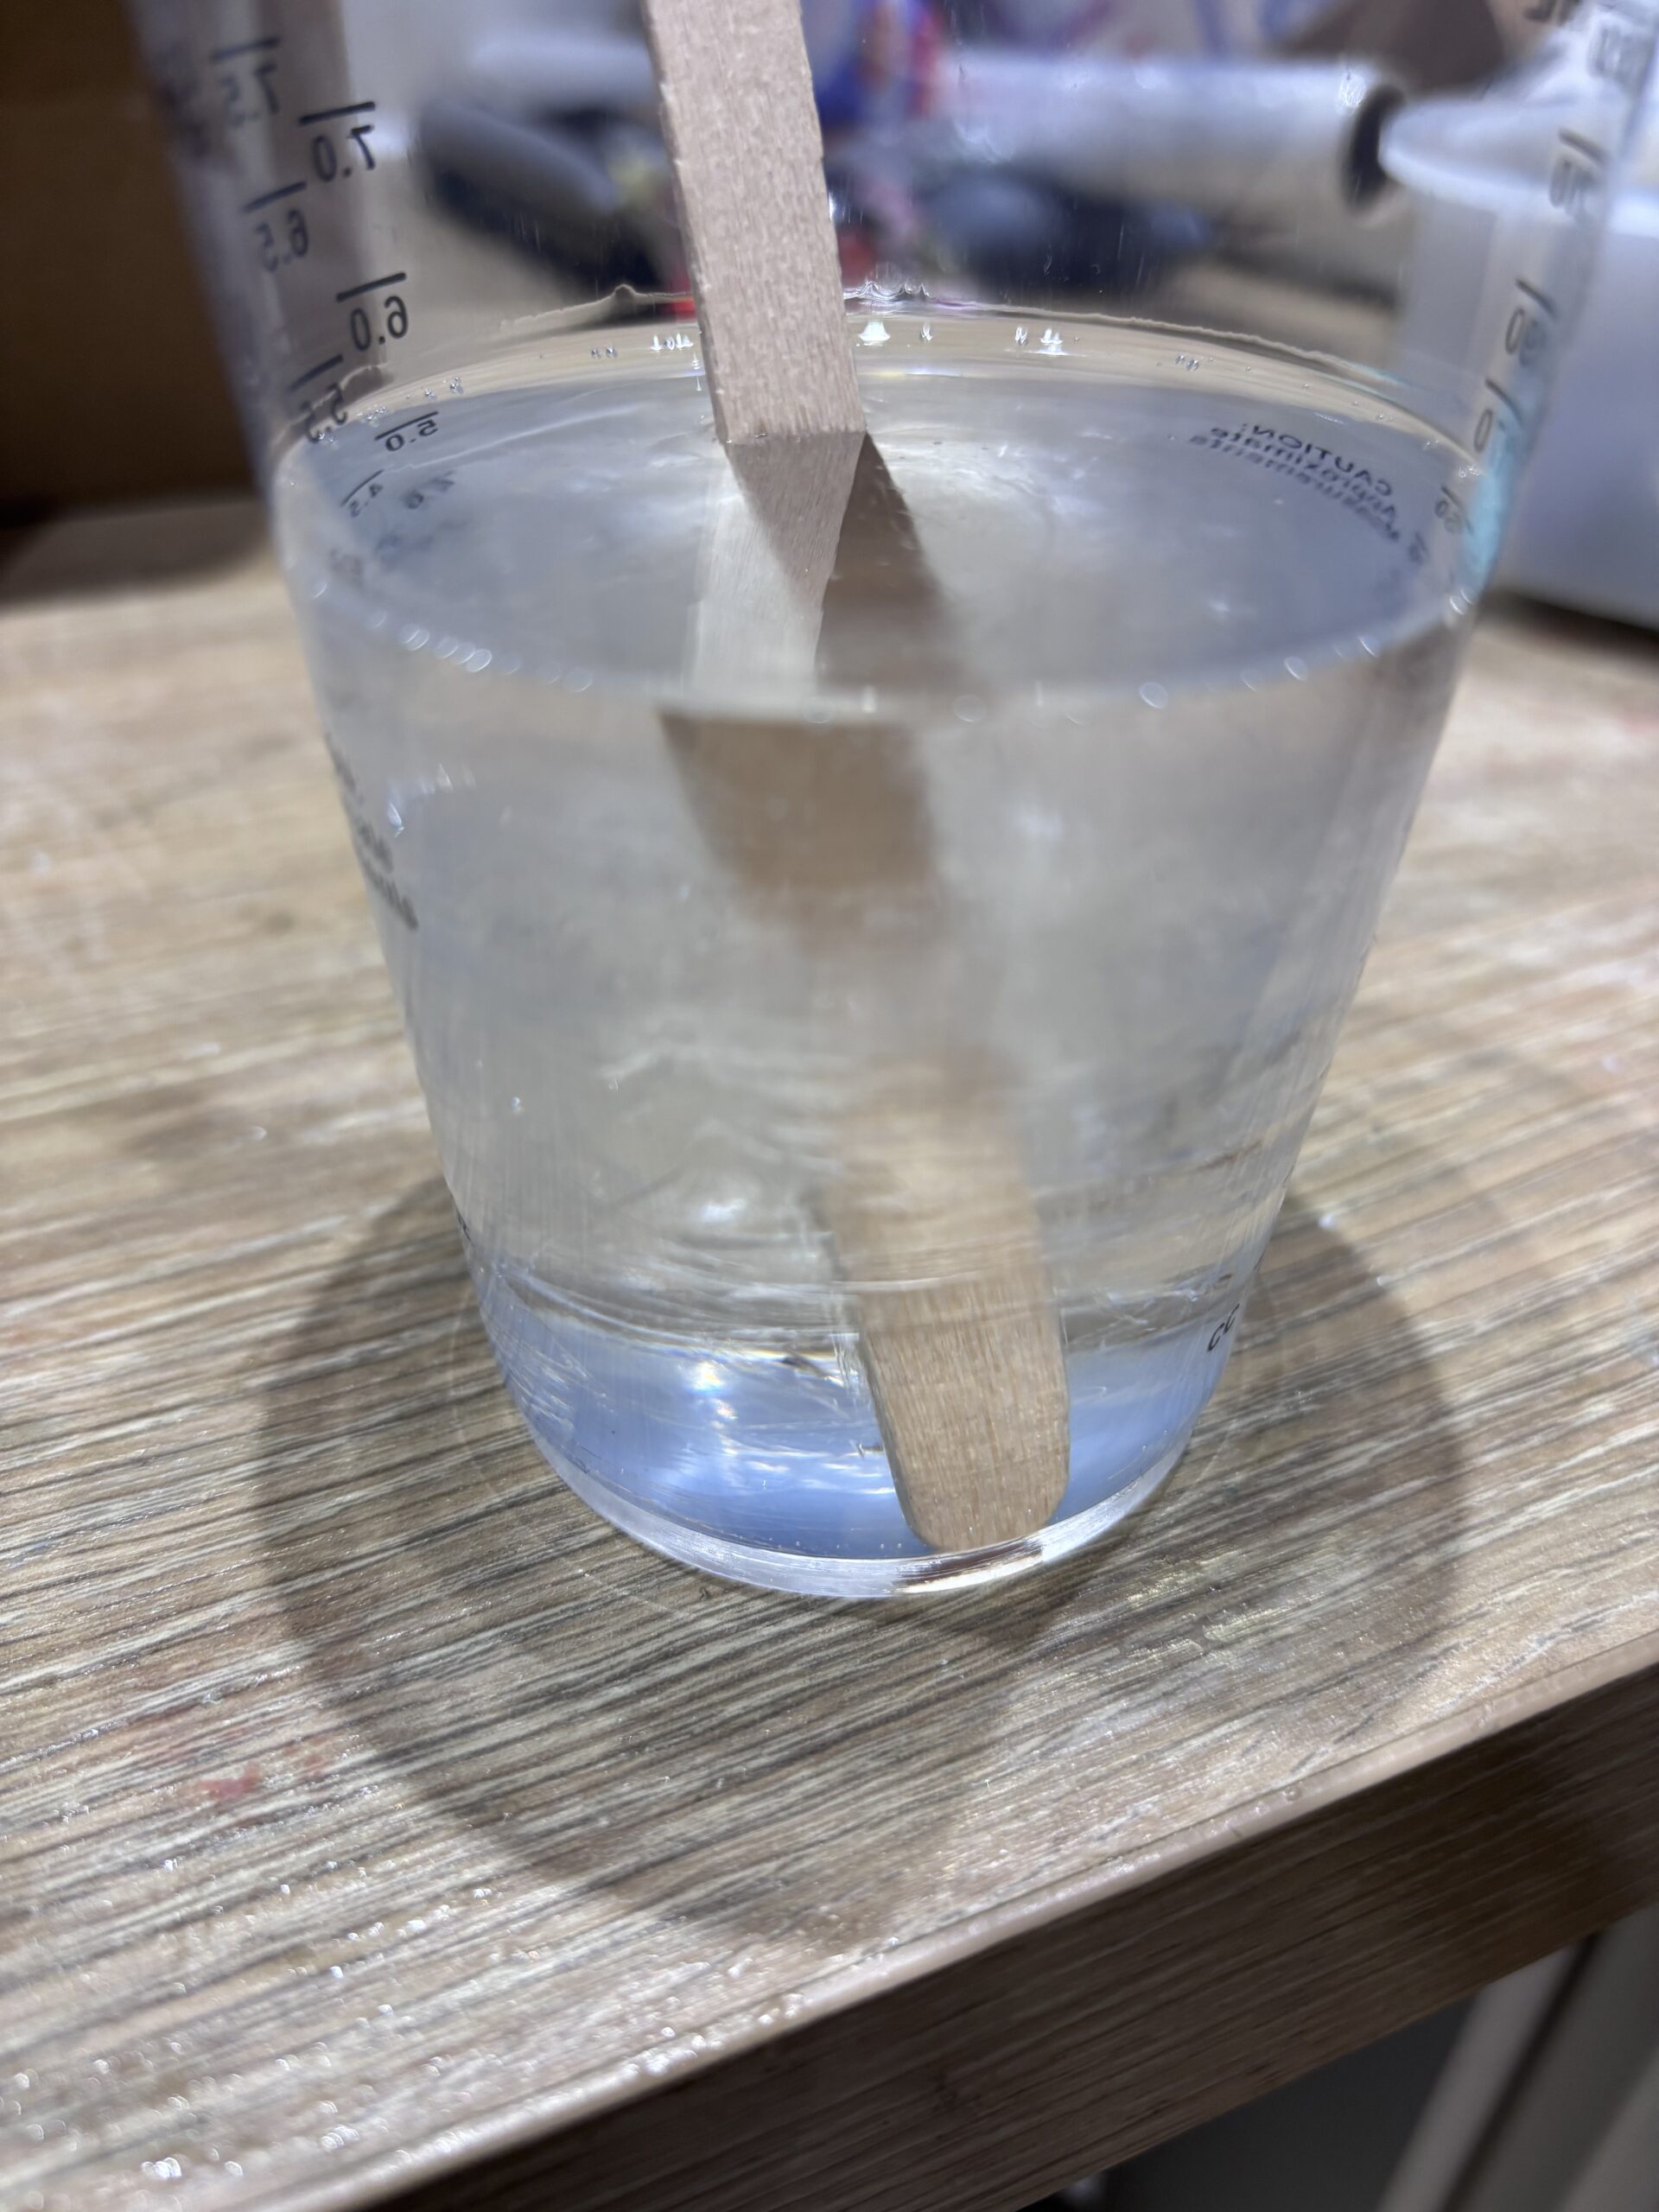
Have you poured your epoxy resin expecting a beautiful, crystal-clear finish, only to find that it has turned cloudy, milky, hazy or even white?
Don’t worry – cloudy resin is a common problem, particularly when you’re new to resin crafting.
There are several reasons why epoxy resin can become cloudy. Moisture, temperature, bubbles, over-mixing, contamination and certain additives can all affect the clarity of your finished project.
The good news is that some of your cloudy resin problems can be fixed, while others can be prevented with a few simple changes to your technique.
In this guide, we’ll explain why your resin is cloudy, how to fix cloudy epoxy resin and what you can do to keep your resin crystal clear.
Why is my resin cloudy?
The most common reasons epoxy resin becomes cloudy are:
- Moisture or humidity
- The resin is too cold
- Tiny bubbles are trapped in the resin
- The resin and hardener were mixed too aggressively
- The resin hasn’t cured properly
- Too much pigment or mica powder has been added
- Water or another incompatible substance has contaminated the resin
- The resin or hardener has degraded
- The mould or project surface wasn’t clean
Let’s look at each cause in more detail.
1. Moisture can make epoxy resin cloudy
One of the biggest enemies of clear epoxy resin is moisture.
Epoxy resin generally performs best in a dry, controlled environment. High humidity, damp materials or water accidentally introduced into the resin can result in a cloudy or milky appearance.
This can be particularly noticeable when you’re working with:
- Dried flowers
- Fresh flowers
- Wood
- Paper
- Fabric
- Natural materials
- Damp moulds
If you’re embedding something into resin, make sure it is completely dry before you add it to your project.
What happens if moisture gets into resin?
Water can interfere with the curing process and may contribute to:
- Cloudiness
- White patches
- Bubbles
- A hazy finish
- Poor curing
- Surface imperfections
This is one reason why properly drying flowers before preserving them in resin is so important.
2. Your resin is too cold
Temperature has a surprisingly big impact on epoxy resin.
When resin gets cold, it becomes thicker.
Thicker resin makes it harder for bubbles to escape, which can leave your finished project looking cloudy or hazy.
Cold resin can also be more difficult to mix thoroughly.
Signs your resin is too cold
You may notice that:
- The resin is unusually thick
- It doesn’t flow easily
- Bubbles are difficult to remove
- The resin looks slightly cloudy straight out of the bottle
- Your project is taking longer to cure
Always check the manufacturer’s recommended working temperature for your particular resin.
Tip for beginners
If your resin is stored somewhere cold, such as a garage or shed, allow it to reach the manufacturer’s recommended working temperature before using it.
Avoid extreme heating or improvising with high temperatures. Resin should be warmed only in a way that’s appropriate for the specific product.
3. Tiny bubbles are making your resin look cloudy
Sometimes what looks like cloudy resin is actually thousands of tiny bubbles trapped throughout the epoxy.
This is particularly common if you:
- Stir too quickly
- Mix aggressively
- Pour from too great a height
- Use very thick resin
- Pour into a deep mould
- Work in a cold environment
Large bubbles are usually easy to spot.
Tiny microbubbles are much harder to see individually, but collectively they can make clear resin look milky or cloudy.
How to reduce bubbles
Try:
- Mixing slowly
- Scraping the sides and bottom of your cup
- Allowing the mixed resin to rest briefly if the manufacturer’s instructions allow
- Pouring slowly
- Using a suitable heat source carefully to encourage bubbles to rise
- Keeping your workspace at the recommended temperature
Be careful with heat. Excessive heat can damage moulds, overheat resin or cause other problems.
Check out more tips in our blog – How to stop bubbles in your epoxy resin.
4. You mixed your resin too aggressively
When you mix epoxy resin, it’s tempting to stir as quickly as possible.
Unfortunately, vigorous stirring can introduce lots of air into the resin.
Instead of creating a smooth, clear mixture, you can end up with thousands of tiny bubbles.
How should you mix resin?
Use a slow, controlled stirring motion.
Make sure you thoroughly scrape:
- The sides of the cup
- The bottom of the cup
- The corners of the cup
The goal is to mix thoroughly without whipping excessive air into the resin.
Remember:
Slow and thorough is better than fast and aggressive.
Check out our mixing guide for more tips.
5. Your resin hasn’t cured properly
Cloudiness can sometimes be associated with an epoxy resin that hasn’t cured correctly.
If your resin is cloudy and remains soft, tacky or unusually flexible, there could be a problem with:
- Incorrect resin-to-hardener ratio
- Incomplete mixing
- Low temperatures
- Excessive pigment
- Contamination
- Using resin outside its intended application
Check the manufacturer’s recommended curing conditions before assuming your resin has failed.
If you’re experiencing sticky resin as well as cloudiness, our guide Why Is My Epoxy Resin Still Sticky? may help.
6. You’ve added too much pigment
Resin pigments are fantastic for creating beautiful colours, but adding too much colourant can affect the way epoxy behaves.
This is particularly important if you’re trying to create a clear or translucent effect.
Adding excessive amounts of:
- Mica powder
- Liquid pigment
- Alcohol ink
- Acrylic paint
- Glitter
- Other colourants
can alter the appearance and potentially affect curing.
How much pigment should you add?
There isn’t one universal percentage that works for every resin.
Different manufacturers and pigment products have different recommendations.
For the best results:
Use a colourant designed for epoxy resin and follow the manufacturer’s recommended usage rate.
If you’re experimenting, make a small test batch first.
7. Water or another incompatible substance has contaminated the resin
If your resin suddenly turns cloudy after you’ve added something to it, contamination could be the cause.
For example, you might accidentally introduce:
- Water
- Moisture
- Cleaning products
- Oils
- Dust
- Residue from another material
This is why your tools, mixing cups and moulds should be clean and completely dry.
Don’t use wet equipment to mix or pour epoxy resin.
8. Your resin or hardener has degraded
Epoxy resin doesn’t last forever.
If your resin has been stored for a long time, its appearance or performance may change.
Poor storage can also affect resin.
For example, repeatedly exposing resin to unsuitable temperatures or direct sunlight may affect its quality.
Check your resin before using it
Look for:
- Changes in colour
- Unusual cloudiness
- Crystals
- Separation
- Changes in consistency
- Unusual smell
Always check the manufacturer’s storage recommendations and shelf life.
If you’re unsure about an old bottle of resin, it’s better to test a small amount before using it on an important project.
9. Your mould isn’t clean
Sometimes the resin isn’t actually the problem.
Your mould could be causing the cloudy appearance.
Silicone moulds can collect:
- Dust
- Grease
- Oils
- Old resin
- Pigment residue
- Cleaning product residue
Even a small amount of contamination can affect the appearance of clear resin.
Before pouring
Make sure your mould is:
Clean + dry + dust-free
Avoid using harsh cleaning products unless they’re specifically suitable for your mould.
Why did my resin turn white?
If your resin has turned white or milky, rather than simply slightly hazy, there are several possible explanations.
The most common include:
- Moisture
- Tiny bubbles
- Low temperatures
- Contamination
- Incorrect mixing
- Certain pigments or additives
- Problems with the curing process
Try to identify when the resin became cloudy.
This can give you an important clue.
Cloudy before pouring?
The resin itself may be cold, old or affected by storage.
Cloudy immediately after mixing?
You may have introduced lots of tiny bubbles or the components may not have been properly mixed.
Cloudy after adding flowers?
Moisture in the flowers could be contributing to the problem.
Cloudy after curing?
Look at the curing conditions, additives and possible moisture contamination.
Can cloudy epoxy resin be fixed?
Sometimes.
Whether you can fix cloudy resin depends on what caused the cloudiness.
If the problem is bubbles
You may be able to improve the appearance by carefully warming the resin or using another suitable bubble-removal technique.
If the resin hasn’t fully cured, you may also find that some bubbles naturally rise to the surface.
If the surface is cloudy but the resin underneath is clear
Once the resin has fully cured, you may be able to sand and polish the surface to restore clarity.
This can work particularly well when the cloudiness is caused by surface scratches or imperfections rather than cloudiness throughout the resin.
If the cloudiness is caused by moisture
Unfortunately, this can be much more difficult to correct.
If water has interfered with the resin’s chemistry, simply adding another layer won’t necessarily solve the problem.
How to make cloudy resin clear
If your resin is already cured and the cloudiness is only on the surface, sanding and polishing may help.
A typical finishing process involves:
- Allow the resin to fully cure.
- Start with an appropriate fine wet-and-dry abrasive.
- Progress through increasingly fine grades.
- Keep the surface clean.
- Polish the resin once the scratches have been removed.
- Finish with a suitable resin polishing compound if recommended.
Don’t rush the sanding process.
Starting with an unnecessarily coarse abrasive can create deep scratches that take much longer to remove.
For a complete guide, see our article on How to Sand Resin.
How to prevent cloudy epoxy resin
Prevention is much easier than trying to rescue a finished project.
Before you start your next resin project, use this checklist.
Before mixing
- Check the resin is within its recommended shelf life.
- Store resin according to the manufacturer’s instructions.
- Make sure your workspace is at the recommended temperature.
- Make sure your mould is clean and completely dry.
- Make sure any flowers or other materials are completely dry.
While mixing
- Measure the resin and hardener accurately.
- Follow the correct ratio.
- Mix slowly and thoroughly.
- Scrape the sides and bottom of the cup.
- Avoid introducing unnecessary air.
While pouring
- Pour slowly.
- Stay within the recommended pour depth.
- Remove bubbles carefully.
- Avoid adding excessive pigment.
- Keep your project level.
During curing
- Keep the project at the manufacturer’s recommended temperature.
- Keep it away from dust and moisture.
- Don’t disturb it while it cures.
- Allow it to fully cure before sanding or handling.
Why is my clear resin cloudy after sanding?
This is a slightly different problem.
If your resin was crystal clear before sanding but becomes cloudy afterwards, don’t panic.
You’ve probably created microscopic scratches across the surface.
These scratches scatter light, making the resin look white or hazy.
The solution is usually to continue through progressively finer abrasives and then polish the surface.
This is exactly the same principle you see when sanding a clear piece of plastic: the scratches make it look opaque until the surface is polished.
Why is my resin cloudy after curing?
If your resin looked clear when you poured it but became cloudy during or after curing, consider:
- Temperature
- Humidity
- Moisture
- Bubbles
- Incorrect mixing
- Pigments
- Additives
- Contamination
- The resin itself
Try to remember exactly what happened during the project.
When the problem appeared is often the biggest clue to finding the cause.
Frequently Asked Questions
Why is my epoxy resin cloudy?
Cloudy epoxy resin can be caused by moisture, bubbles, low temperatures, incorrect mixing, excessive pigment, contamination or resin that has degraded.
How do I make cloudy resin clear?
If the cloudiness is only on the cured surface, sanding and polishing may restore clarity. If the cloudiness runs throughout the resin because of moisture or curing problems, it may be much harder to correct.
Why did my clear resin turn white?
Clear resin can turn white or milky because of moisture, microbubbles, temperature problems, contamination or certain additives.
Does cold resin become cloudy?
Cold temperatures can make epoxy resin thicker and make it more difficult for bubbles to escape. This can contribute to a cloudy appearance.
Can humidity make epoxy resin cloudy?
Yes. Moisture and high humidity can affect epoxy resin, particularly when moisture gets into the resin or into materials being embedded in the project.
Can I use a heat gun to make cloudy resin clear?
A suitable heat source can help bubbles rise to the surface, but it won’t fix cloudiness caused by incorrect mixing, moisture or chemical problems. Use heat carefully and follow the manufacturer’s instructions.
Why is my resin cloudy after mixing?
If resin becomes cloudy immediately after mixing, tiny bubbles may have been introduced during stirring. Cold resin can also become thicker and appear less clear.
Why is my resin cloudy after sanding?
Sanding creates tiny scratches in the surface of cured resin. These scatter light and make clear resin appear cloudy. Progressively finer sanding followed by polishing can restore the shine.
Final thoughts: how to keep your resin crystal clear
Cloudy resin can be frustrating, but understanding why it happens makes it much easier to prevent.
The biggest things to remember are:
Keep moisture away. Work at the correct temperature. Mix slowly and thoroughly. Don’t overload your resin with pigments or additives. Keep your equipment clean and dry. And give your project enough time to cure.
If you’re working with clear epoxy resin, small changes to your technique can make a huge difference to the final result.
And remember — if your resin isn’t perfectly clear on your first attempt, don’t give up!
Resin crafting has a learning curve, and troubleshooting mistakes is part of becoming a better resin artist.
More resin troubleshooting guides
If you’re having problems with your resin, you may also find these Resin for Beginners guides useful: