
Crafting with epoxy resin can be a rewarding and creative experience. It can also be expensive though! We talk you through the essential items that you’ll need to get started with your epoxy resin craft journey.
Here’s a general list of items you might need to work with epoxy resin:
Epoxy Resin
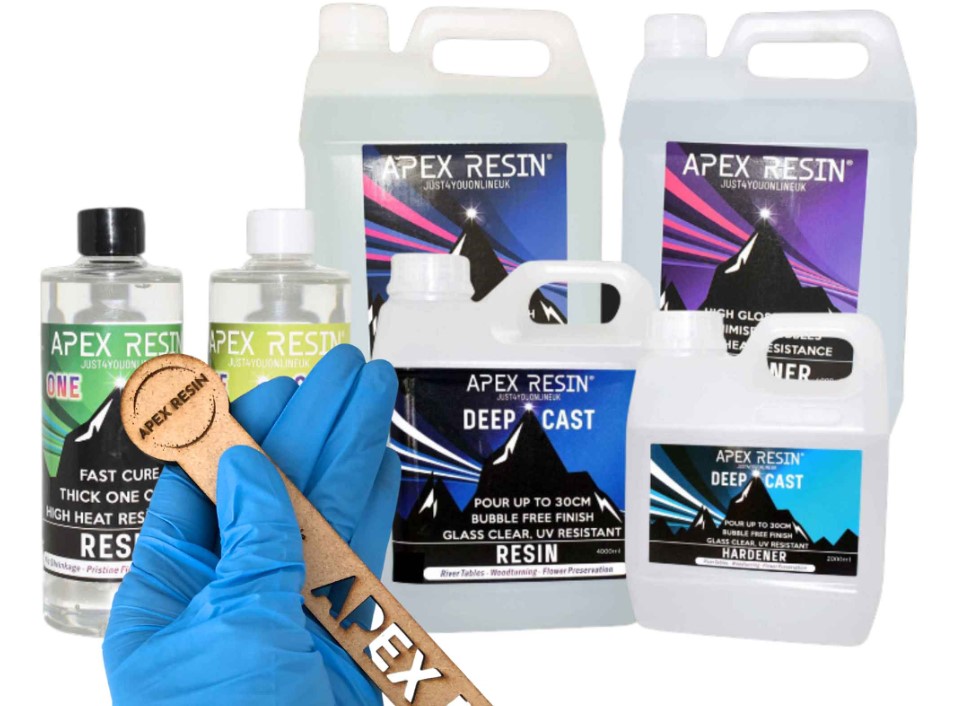
Choose a high-quality epoxy resin suitable for your project. There are various types, such as casting resin, coating resin, and UV resin.
Check out our blog on how to choose the right resin for more details about the different types of resin on the market (e.g. high gloss, fast cure, table top, tumbler resin, deep pour, general purpose).
Our discount code page lists all of our recommended suppliers including Apex Resin which we just love to work with.
Mixing Cups
Use disposable or reusable measuring cups to ensure you are measuring accurate proportions of resin and hardener. I often save yogurt pots and other recycled plastic containers which is a great way of saving costs. Just make sure you wash them really well and let to air dry to ensure there’s no leftovers or dust.
TIP: Use a clean, flat-bottomed container for mixing the resin and hardener. This will ensure you can mix thoroughly and evenly.
TIP: A container with volume markings can help you measure accurately if you are using a resin that is to be measured by volume.
Stir Sticks
Wooden or plastic stir sticks are essential for thoroughly mixing the resin and hardener without introducing air bubbles. We find these silicone sticks the best for minimal bubbles and they are easy to clean with baby wipes or alcohol spray and are perfect to reuse.
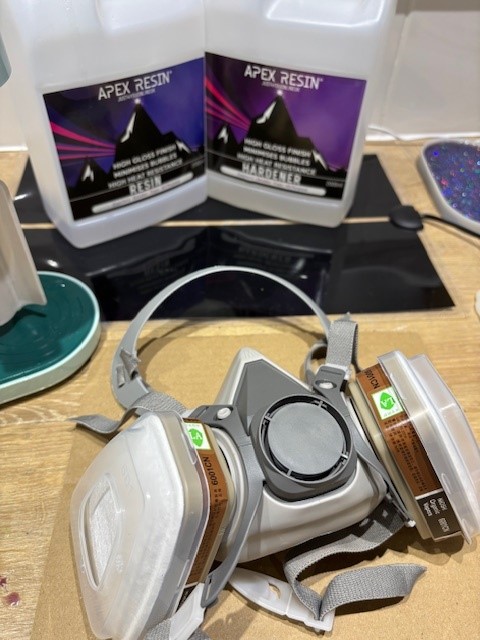
Personal Protective Equipment
TIP: Always follow the safety instructions for your chosen resin. Ensure you take the recommended protective precautions and seek advice from the supplier if you are unsure of any instructions.
We suggest that you wear protective gear such as nitrile gloves (as they offer the best protection against chemicals) and safety glasses to prevent skin contact and eye irritation.
We also recommend using a mask to avoid inhaling fumes even if your resin is low VOC or Non Toxic, especially if you have limited ventilation in your workspace. This one is a perfect kit for epoxy resin beginners.
Our blog on resin safety provides a full list on recommended safety products.
TIP: Always make sure you work in a well ventilated area even if you do use a mask and protective equipment.
SAFETY ADVICE: A lot of epoxy resins will be low or no VOC’s and non-toxic but again, it is best to be cautious and not work with resin around pets or children. Always keep resin products and uncured resin well out of reach of children or pets too. It can be harmful to skin if not cleaned off immediately.
Moulds
Depending on your project, you’ll need moulds to shape the resin. These can be silicone moulds, plastic moulds, or other materials suitable for resin casting. Temu and SHEIN are perfect for beginners as they’re really cheap. Amazon have some great selections too.
Get 15% off moulds at Create With Resin with code RESINFORBEGINNERS15.
Release Agent
It is not essential but you’re using moulds, especially intricate ones, a release agent can help prevent the resin from sticking to the mould and make it easier to demould your finished piece. This set contains bubble spray, cleaning spray and release agent. Absolute bargain!
You can also use isopropyl alcohol spray as a release agent. It can double up as a bubble spray too making it great value.
Heat Gun or Torch
To eliminate air bubbles that may form during the mixing process or while the resin is curing, use a heat gun or torch like this one to carefully pass over the surface. Don’t hold it in the same place for too long or you can damage your mould. You can also use a long neck lighter.
TIP: Don’t use heat if you have used alcohol spray. Alcohol is flammable!
Colorants and Pigments
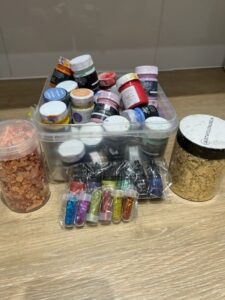
If you want to add colour to your resin project, consider using epoxy-compatible pigments, dyes, or inks. Always follow the instructions to make sure your additives won’t affect your resin from curing.
TIP: The general rule is to make sure you add no more than 10% colour to resin.
Check out our blog for more ideas of what you can add to your epoxy resin.
Levelling tools or table
Ensure that your project is level during the curing process. Use a levelling tool, like a spirit level, or adjust the mould as needed. Remember that not all surfaces like benches will be as flat or even as you think they are. An uneven bench will mean your resin will set unevenly.
You can also get levelling tables like this one from JDiction which can be really useful if you’re struggling to get a level surface.
Measuring Scale
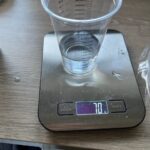
For precise measurements (if your epoxy resin requires weight-based measurements) kitchen scales can be the most accurate. We use these from Amazon.
TIP: Cover your scales with saran wrap or cling film to protect them from resin.
Sandpaper
Once the resin has cured, you may need sandpaper or polishing materials to achieve a smooth finish. Having a good range of sandpaper in your pack, like this one, is useful. You can use a higher grit for big bumps then work your way down to a finer grit to smooth your edges.
TIP: Check out our blog to find out how to sand and polish your resin project.
Workspace Covering
Protect your work surface with silicone mats, plastic sheets, clingfilm or saran wrap to catch any drips or spills.
TIP: Don’t forget to protect your floors!
More top tips
Always follow the specific instructions provided by the manufacturer of the epoxy resin you are using, as different products may have unique requirements and curing times.
Love this
Thank you
Thank you
Thank you, this is very informative and useful for our activities.
This is a great starter kit and I’ve order most of what you recommend
Amazing, I hope you have fun creating with it 🙂
Oh my goodness I had no idea how precise the instructions would be. I am so happy I found this site.
I’m so pleased it has been useful for you 🙂