
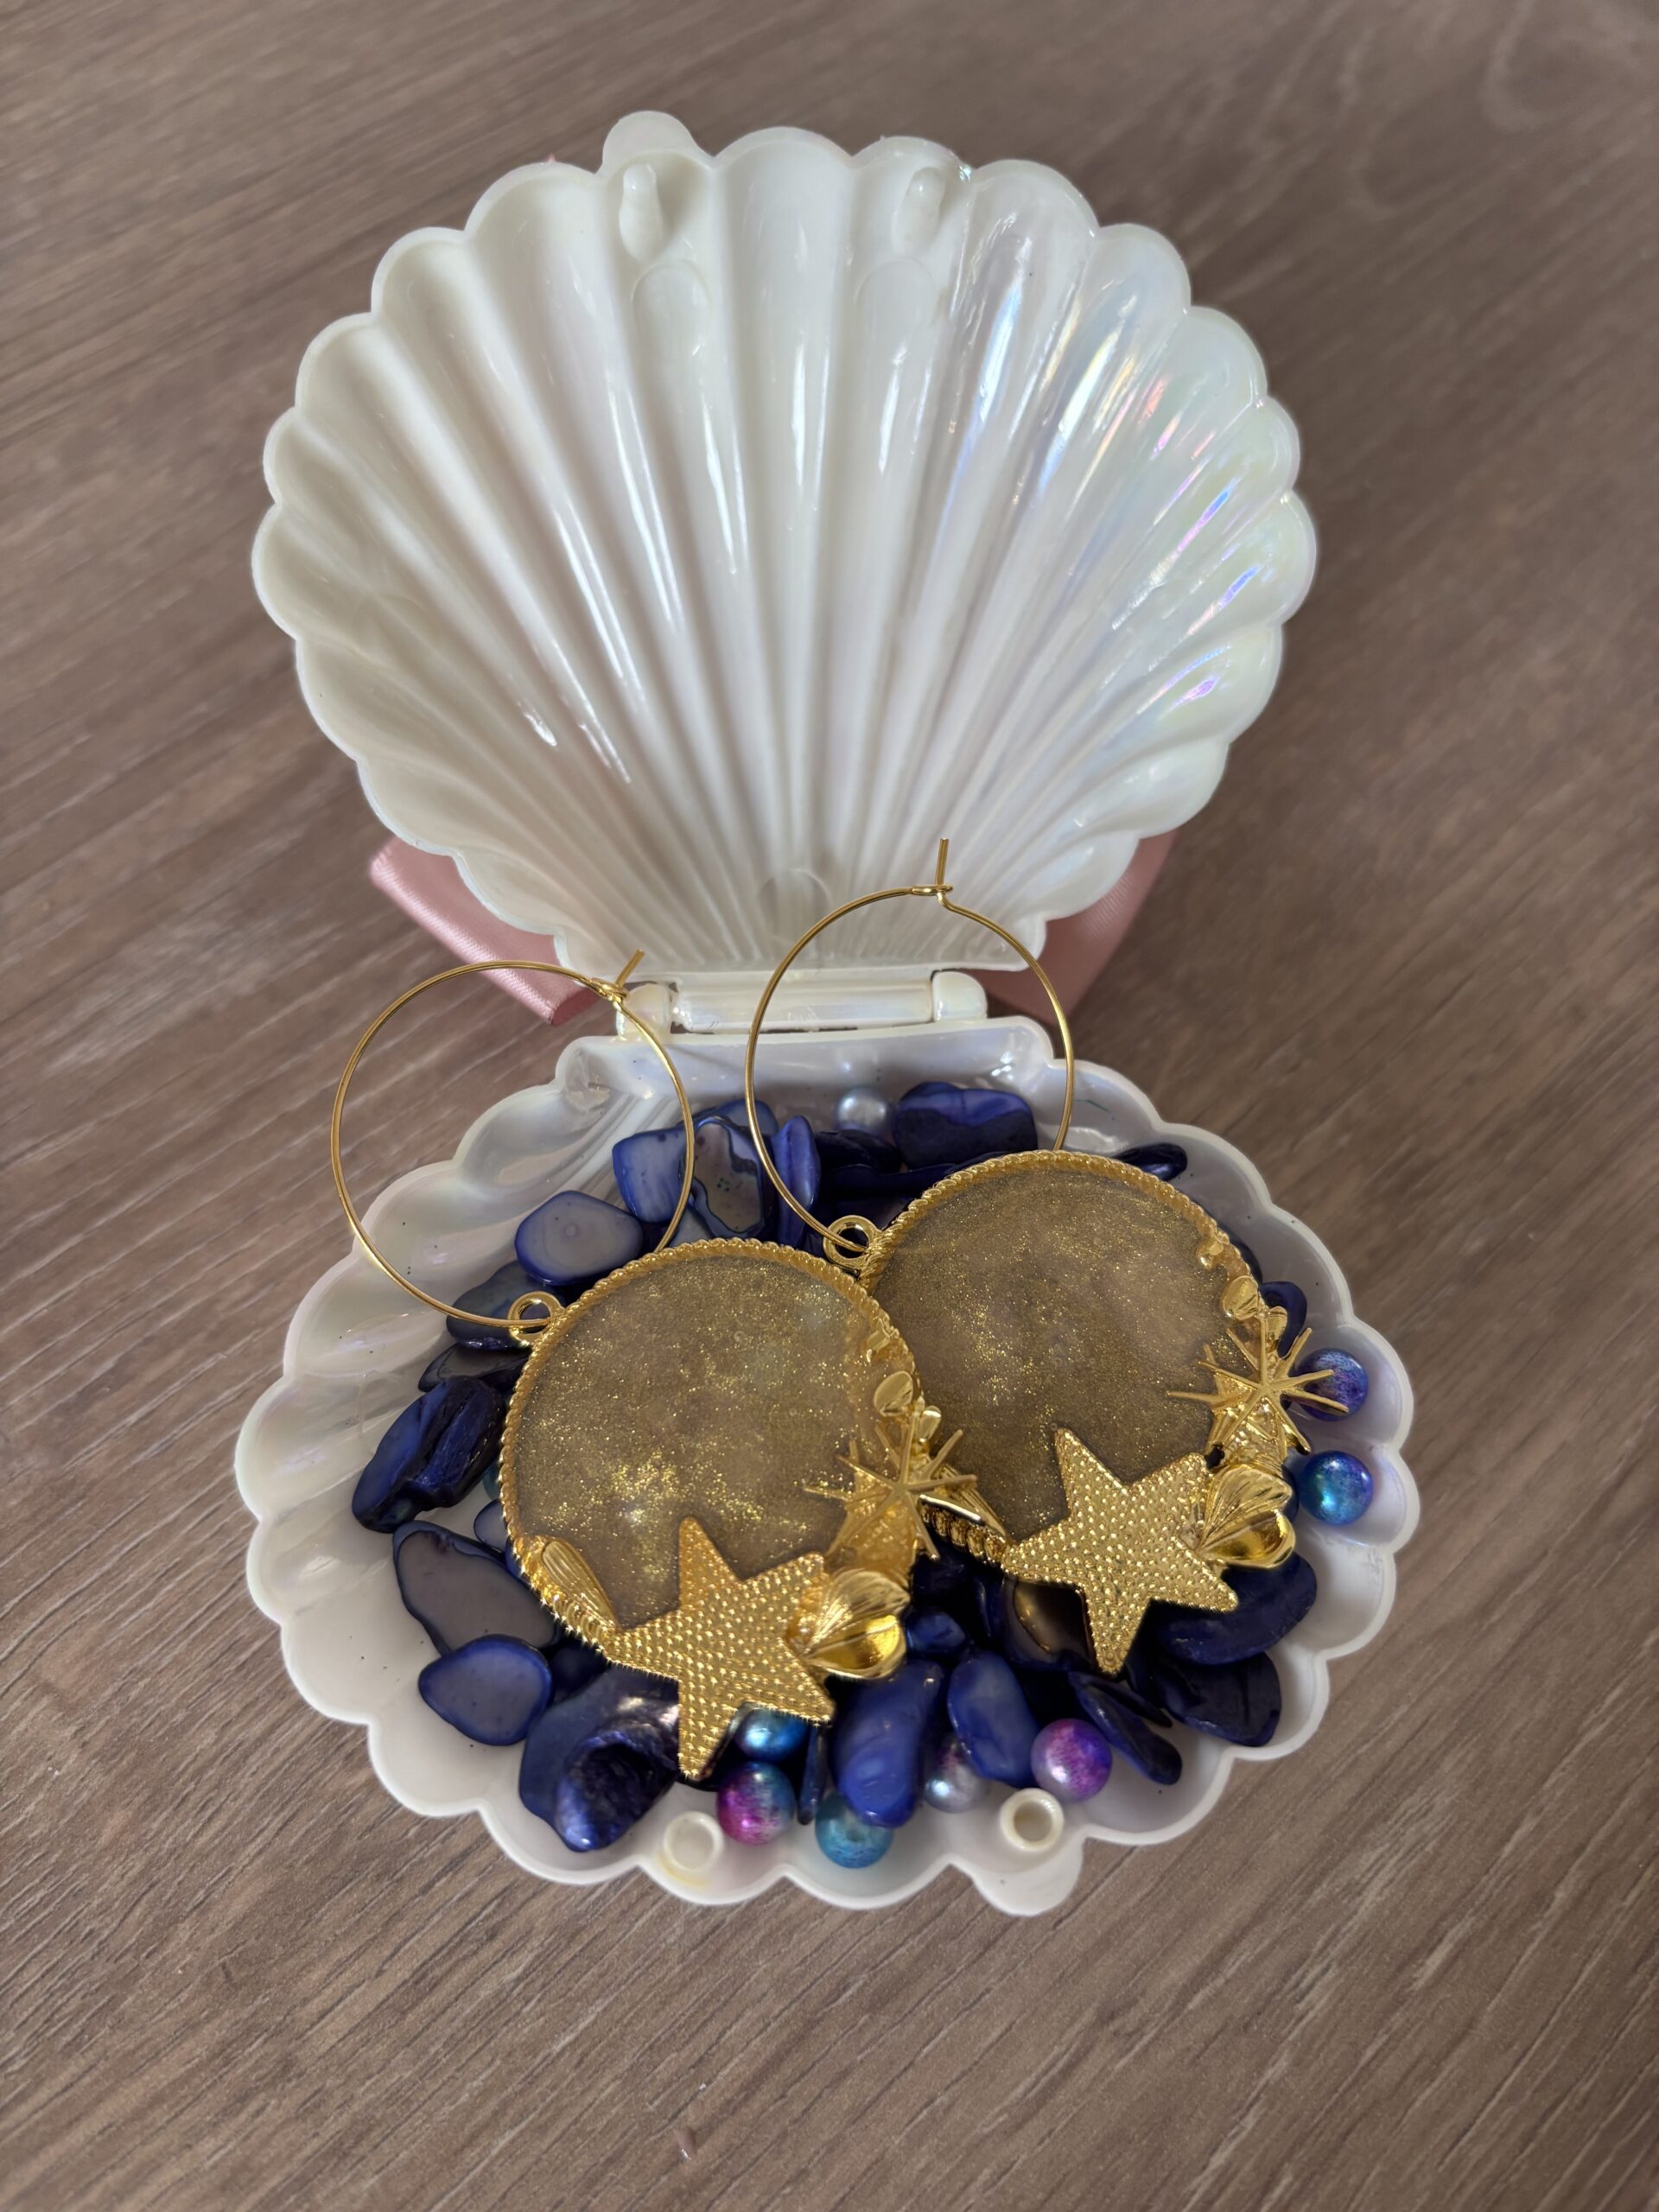
Are you looking for a simple and easy epoxy resin project?
In this beginner-friendly tutorial, I’ll show you how to make resin earrings using open back bezels and earring hoops, what supplies you need, how to add earring findings, and how to avoid common mistakes.
Scroll to the bottom of the blog to see the process video.
Time needed: 24 hours
Difficulty level: Easy
What you’ll need
- Epoxy Resin
We use Apex High Gloss epoxy resin as its nice and thick but still releases bubbles easily and gives the most perfect finish.
Get 15% off Apex Resin with code RESINFORBEGINNERS - Earring Bezels
For this project, were using open back bezels from Resin D’Etre Supplies. These ones actually came from their monthly Journey Into box but check out their website for their current stock and get 15% off with code RESIN15. - Resin Tape
You’ll need a good resin tape to secure the back of your bezel and to stop the resin escaping. We recommend the Lets Resin Tape from Amazon – they often have good offers on too. - Pigments
We used Resin D’Etre Supplies pigment for this project as it gave a gold shimmer which we love.
- Safety Equipment
Gloves, Respirator (where you do not have a sufficient fresh flow of air), protective workspace covering.
- Mixing Cup
We use these plastic measuring cups from Amazon as they allow you to easily measure you part A & B. Being see through, you can also check when your resin is completely mixed. - Stirring Sticks
You can either use reusable silicone sticks like these or long wooden lollipop sticks to mix and control the flow of your resin. - Earring Hoops
We love this HUGE bag of hoops from Amazon. They’re super cheap but always look so pretty and they’re the ones we used for this project.
TIP – you can also use them to make wine glass charms!
How to make the resin earrings
- Prepare your workspace
- Cover your work surface and make sure your workspace is well ventilated. Wear suitable gloves and eye protection, and keep resin away from your skin and eyes. Always follow the safety instructions for your specific product.
- It is also worth preparing everything before mixing, because once your resin is combined, you will need to work within its recommended working time.
- Measure and mix your epoxy resin
- Measure the resin and hardener in the ratio stated on the packaging. This is important because different epoxy resins have different mixing ratios.
- Stir slowly and thoroughly, scraping the sides and bottom of the cup. Mix until the resin is clear and streak-free, following the manufacturer’s recommended mixing time.
- Beginner tip: Mixing too quickly can introduce extra bubbles, while inaccurate measuring can prevent your earrings from curing properly.
- Add colour and decorations
- Add a small amount of mica powder, resin pigment or glitter to your mixed resin. Start with a little and add more gradually until you achieve the colour you want.
- You can also add dried flowers, metallic flakes or other suitable decorative materials. If you are using dried flowers, make sure they are completely dry before embedding them.
- For the earrings in the video below, we used Resin D’Etre gold pigment paste.
- Secure the bezel on to the resin tape
- Make sure you press down hard to ensure your bezel is firmly pressed on to the tape. Any gaps and you’ll have a leek.
- Add your epoxy
- Use a toothpick or stir stick to guide the resin into the corners and around any decorations. If you are making earrings with multiple layers, allow the first layer to cure according to the resin instructions before adding the next.
- Tip: Keep your mould level while the resin cures so the finished earrings have an even surface.
- Remove bubbles
- If you notice bubbles, gently pop them using a suitable bubble-removal method recommended for your resin.
- A long neck lighter can be useful for removing surface bubbles, but use it carefully and follow the manufacturer’s guidance.
- Avoid overheating the resin, especially in small moulds, as too much heat can damage the finish or affect the cure.
- Leave the earrings to cure
- Allow the resin to cure for the full time recommended by the manufacturer.
- Remove the resin tape
- Do not remove the earrings from the tape too early, even if the surface feels hard.
- Once fully cured, carefully flex the tape and remove the earrings.
- If they are still soft or bendy, they may need more curing time.
- TIP – If you find tape residue on your piece, use sticky stuff remover. Works a dream.
- Add the earring findings
- If your mould includes a hole, you can attach the findings directly. If not, you may need to drill a small hole in the cured resin.
- We added fine hoops to our earrings to give a dainty finish.
Common mistakes when making resin earrings
- Sticky or soft resin
Usually caused by incorrect measuring, insufficient mixing or removing the earrings before they have fully cured. Always follow the resin manufacturer’s instructions.
- Too many bubbles
Mix more slowly, avoid whipping air into the resin and use a suitable bubble-removal method when needed.
- Overfilled moulds
Pour in small amounts and use a toothpick to guide resin into the corners. Overfilling can make the earrings difficult to remove cleanly.
- Loose earring findings
Check that jump rings are closed securely and that any adhesive has fully cured before wearing the earrings.
@resinforbeginners See how these stunning epoxy resin earrings were made in under 24 hours. This presentation shell 🐚 is an absolute adorable touch too. Check the comments for supplies list. #resin #epoxy #diyjewelry #earrings #resinjewellery ♬ son original – L1L2 🅴