
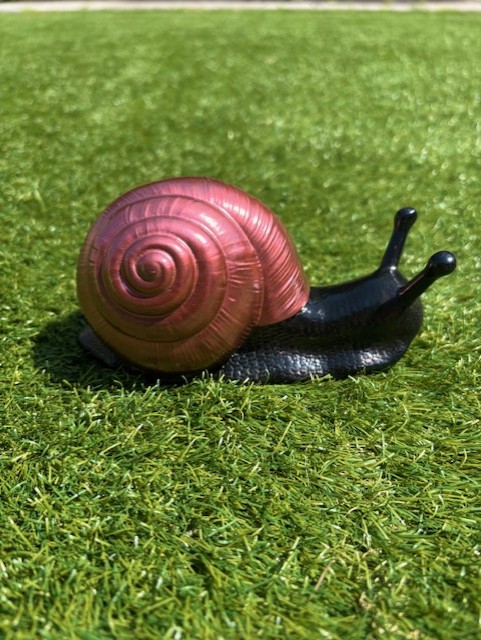

Learn how to make this stunning epoxy resin snail with Let’s Resin Mould from Create with Resin.
What you’ll need:
- Snail mould
Use code RESINFORBEGINNERS15 to get 15% off the mould from Create with Resin. - Mica powder
- Brush
- Epoxy Resin
You will need deep pour resin if you are going to pour this mould all at one time.
Get 15% off Apex Deep Pour with code RESINFORBEGINNERS. - Mixing container
- Resin safety kit
Read our blog here to find out how to keep safe when working with resin.

How it’s done:
- Set up your work space and ensure you have protected your work area and are using protective equipment as advised by your chosen resin brand.
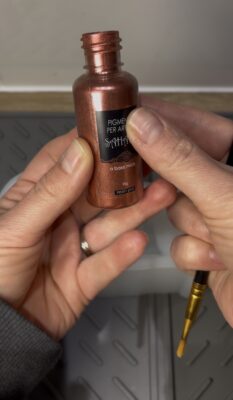
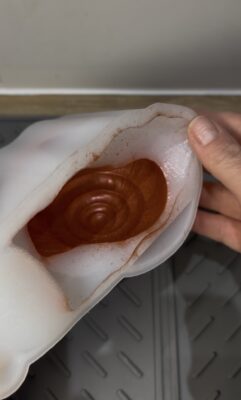
- Using a fine makeup brush like this one, brush mica on to the areas of the mould you wish to show colour.
TIP: If you get mica on a part of the mould you don’t want it to be ok, use alcohol spray like this one and kitchen roll to safely remove it without damaging your mould. - Mix your resin according to your brands’ instructions.
TIP: As this is a large mould, if you are using regular 1:1 resin, you will need to pour in two layers to avoid a flash cure.
Find out more about flash cures in this blog. - Add a dark colour pigment to your resin. Dark colours like black will help your mica powder pop.
- Slowly pour the resin in to your mould. As there are fine bits in the mould, gently squeeze your mould as you pour to ensure the snails facial features are fully filled resin.
- Allow your resin to cure the full cure time according to your brand. Remember that deep pour epoxy can take up to 72 hours to cure.
- Large moulds can be tricky to un-mould. Add a little dishwashing liquid and cool water to the edge of your mould and squeeze down the edges working around the inside of your mould. This will help it pop out.
Watch our TikTok video to see how it was done
@resinforbeginners Can’t wait to see how this mould from @createresincraftsupplies turns out 🤩🐌 #resin #epoxy #epoxyresin #resintutorials #asmr #resinforbeginners ♬ Cowboy Sunday – Amanda Rosa