Are you looking for a simple but beautiful way to preserve your flowers? Creating this simple epoxy resin tray is a perfect beginners project.
Project difficulty: Medium
Project time: 2-4 days (not including the time it will take to dry your flowers)
What you’ll need
- Epoxy resin – a 1:1 ratio resin will be fine for this project
We recommend Apex All Purpose Resin.
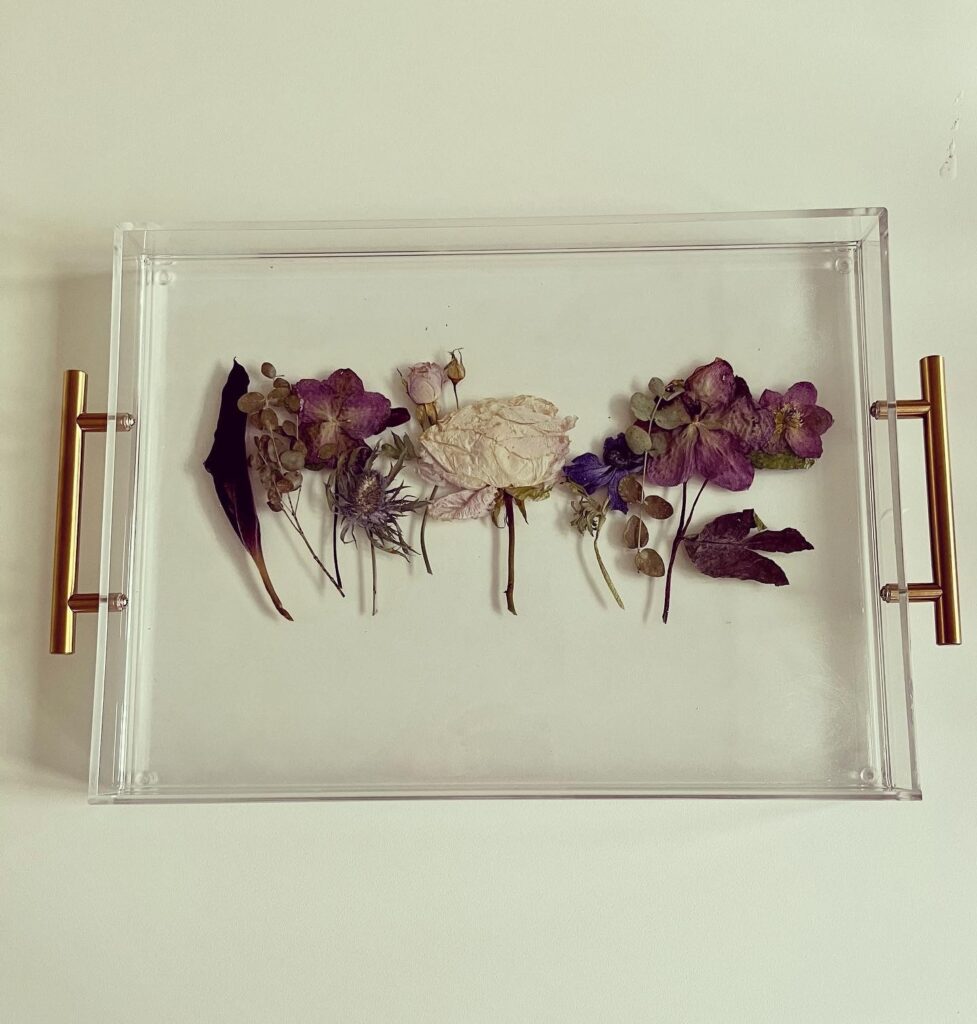
Get 15% off with code: RESINFORBEGINNERS - Clear acrylic tray – we used this one from amazon as the handles are beautiful and it was very high quality
- Plastic cups
- Kitchen scales
- Stirring sticks
- Heat gun or isopropyl spray
- Workspace covering (we use clingfilm /saran wrap)
- Disposable gloves
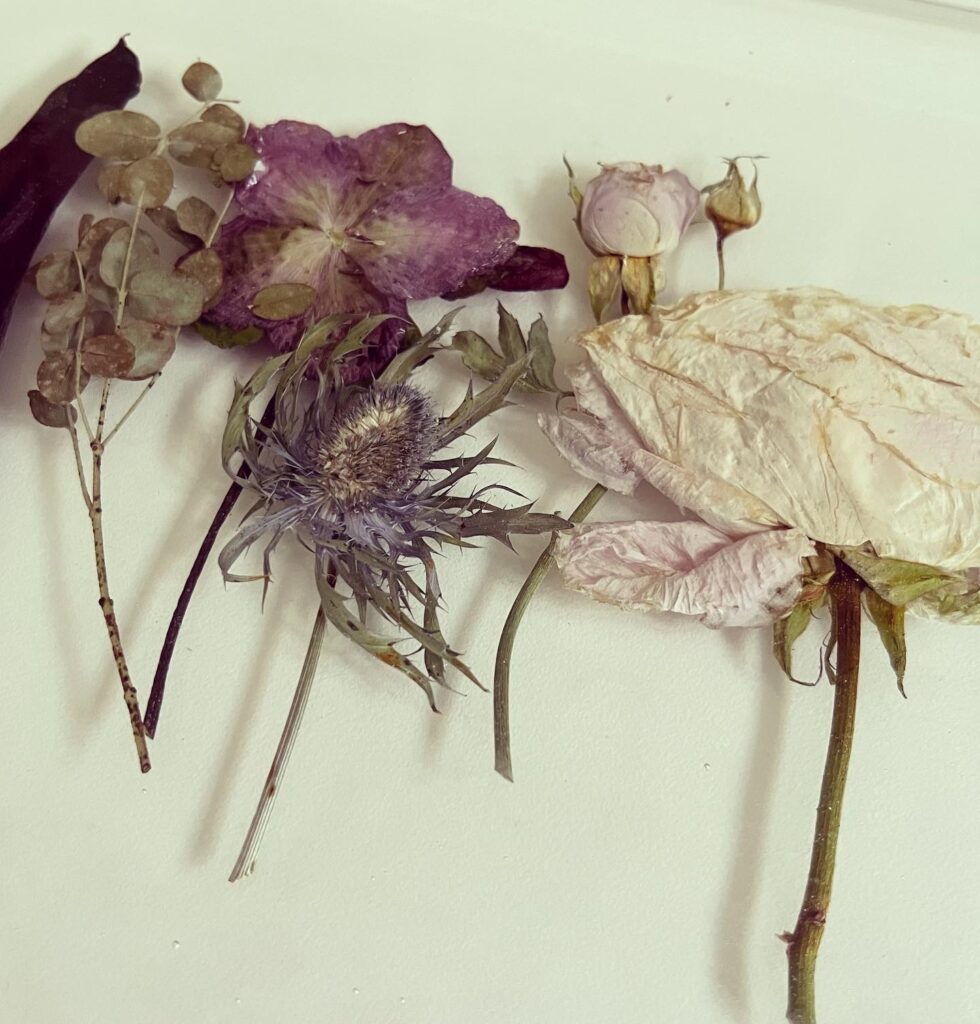
- Dried flowers – Read our blog on drying flowers for use in epoxy resin to see how to get the best possible results. We also lightly pressed some of our larger flowers for this project.
How long will it take
Flowers can take 1-2 weeks to dry in silica gel or sand. Bigger flowers can sometimes take longer.
Once you have your dried flowers, you can complete this project in 48 hours.
How it’s done
Dry your flowers

Follow our guide to drying your flowers. You’ll want to make sure they are completely dry before preserving them in resin. Failing to do this can mean your flowers will rot or mould over time, even if they are completely encased in resin.
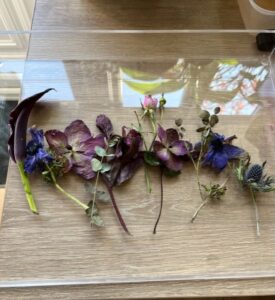
Arrange your flowers
You’ll want to try a few different placements of your flowers until you’re happy with the final arrangement. We often find that we need to trim or tidy up flowers to help get the look we want. Just make sure that you check your tray for any stray leaves or bits of flower. They’re much more difficult to clean up after you’ve poured your resin.
Press your flowers
For this project, we were preserving a friends wedding flowers. As they were quite large and we did not want to fill the whole tray with resin (so it can be used for carrying things), we pressed our flowers slightly. Once arranged in the tray, we placed a small chopping board over them and left a gym weight on top for 2 days. We slowly lifted the chopping board and again checked for any stray bits of flower and moved the flowers back in to position where necessary.
Prepare your resin
For our first layer, we used 300ml of resin (150ml part A, 150ml part B). Flowers will move and float so the first thin layer is there to ‘anchor’ your flowers before adding your final layer.
Mix your resin according to your brands instructions
We use kitchen scales to make sure our ratios of parts A and B are exact. If your ratios are not as per your instructions, your resin may not set or may not be crystal clear. Your fully mixed resin should be streak free and crystal clear (although you may have some bubbles still at this point).
TIP: Check out our blog ‘How to get rid of bubbles in your epoxy resin‘
Pour your first layer
Pour your first nice and slowly. The slower you pour, the less likely your flowers will be to move significantly. Make sure your resin fully covers your whole area. Use a silicone stick to run around the edges of your tray. This will ensure your resin reaches all the way around but will also help free any hidden bubbles.
Remove bubbles
After you have poured your resin, let it sit for 10 minutes. This will allow any air bubbles to rise to the surface and for air pockets in your flowers to settle. You can use either a resin craft heat gun or few sprays of Isopropanol Alcohol Spray to get rid of your bubbles. Its best to wait 10 more minutes and repeat again if needed.
Let your resin cure
Each brand of resin will have different curing times. Follow your instructions. Most will require 24 hours to cure and become solid. We use a heat mat with cover to help speed up the curing process. The cover will also protect your project from dust.
Mix your second batch of resin
We used around 800ml of resin for our second pour. This ensured our flowers were fully covered. Again, mix your resin according to your instructions. We find that mixing in two smaller cups will allow you to make sure your two parts are fully mixed and not streaky.
Pour batch two
Again, even though your flowers will be secure, pour slowly to reduce bubbles and avoid splashing of your resin.
Final cure
Again, let your piece cure. Make sure it is fully set before using. We recommend letting your project cure up to 30 days before placing anything overly heavy on it. Resin can take this long to become fully stable even if your curing time is 24-48 hours.