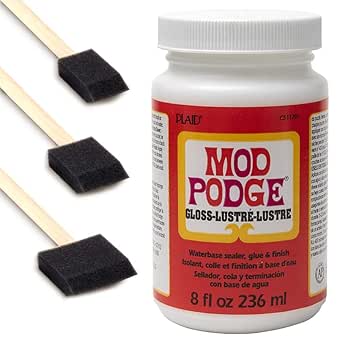
Sealing photos or paper is essential if you’re adding them in to your epoxy resin project. Mod Podge will ensure they are not only protected from the resin but maintain their quality. We use Mod Podge in this guide but any good quality, clear drying PVA glue will have the same effect.
Materials Needed:
- Photos (printed on regular or photo paper) or chosen piece of paper
- Mod Podge
You can choose either matte or glossy. We like glossy for photos to keep their quality but either is fine. - Foam brush or a soft paintbrush
- Scissors
- Gloves and protective work area
- Plastic or silicone mat (to protect your work surface)
Instructions:
Step 1: Prepare Your Work Area
- Protect Surface: Lay down a plastic or silicone mat to protect your work surface from resin spills.
- Gather Supplies: Have everything you need ready.
Step 2: Prepare Your Photos
- Print and Cut: Print your photos on high-quality paper. Trim the photos to the desired size using scissors.
- Clean Surface: Ensure the photos are clean and free of dust or fingerprints.
Step 3: Apply Mod Podge
- First Coat: Apply a thin, even coat of Mod Podge to the front of the photo using a foam brush or a soft paintbrush. Ensure you cover the entire surface.
- Dry: Let the first coat dry completely. This usually takes about 15-20 minutes, but it’s best to follow the drying time instructions on the Mod Podge bottle.
- Second Coat: Apply a second thin coat of Mod Podge. Allow this coat to dry completely as well. You can apply a third coat if you feel it’s necessary for extra protection.
Step 3: Mixing and Pouring Resin
- Mix Resin: Follow the instructions on your resin kit to properly mix the resin and hardener. This usually involves mixing equal parts of resin and hardener and stirring thoroughly for a few minutes.
- Pour Resin: Pour a thin layer of resin in to your mould. Place your sealed photo on top. Gently push down to ensure there’s no bubbles trapped under.
- Remove Bubbles: Use a heat gun or a small torch to gently remove any air bubbles that appear in the resin.
Step 6: Curing
- Cure: Allow your first layer to cure until tacky or when it has reached the full cure time for your chosen resin.
Step 7: Second Layer
- Mix Resin: Follow the instructions on your resin kit to properly mix the resin and hardener. This usually involves mixing equal parts of resin and hardener and stirring thoroughly for a few minutes.
- Pour Resin: Pour the resin to the top of your mould.
- Remove Bubbles: Again, use a heat gun or a small torch to gently remove any air bubbles that appear in the resin.
- Cover: To prevent dust and debris from settling on the resin while it cures, cover the piece with a clean box or a container.
Tips:
- Follow all safety precautions and manufacturer’s instructions for the resin product you are using.
- Work in a well-ventilated area and wear gloves to protect your hands from resin.
- Make sure the photo is completely dry and sealed before applying the resin to avoid any reaction between the ink and the resin.


So do you have to seal the back side of the photo as well? Or just the front?
The back will need to be sealed too in order to create full protection 🙂