

Add text to personalise epoxy resin
Are you looking to personalise your epoxy resin project by adding text? Perhaps you’d like to add a name or details of a memorable occasion like a wedding or birthday. Or perhaps you are creating a memorial piece.
Adding text to resin can help your pieces stand out and typically, if you’re looking to turn your hobby into a business, customers will pay a premium for personalised items.
Ways of adding text to epoxy resin
Adding text to resin can be done in various ways, depending on your specific requirements and the tools you have available. Here are a few ways it can be done:
Embedding printed text
- Print your Text: Use a high-quality printer to print your text on a piece of paper. For best results, use waterproof ink to prevent bleeding when the resin is applied.
- Cut out the Text: Carefully cut out the printed text.
- Seal the Text: Cover in a thin layer of Mod Podge or clear acrylic spray to both sides of the cut-out text to prevent the resin from seeping into the paper.
You can also laminate text and images to seal them. - Place the Text in the Mold: Position the sealed text in your resin mold.
- Pour the Resin: Pour a thin layer of resin into the mold, place the text, and then pour another layer of resin on top once your first layer is cured to the point it is tacky or fully cured (this will stop your text from floating).
- Cure: Allow the resin to cure as per the manufacturer’s instructions.
Use stickers or decals
- Choose Your Stickers/Decals: Select waterproof stickers or decals with your desired text.
- Seal the Stickers: Apply a sealant like Mod Podge or clear acrylic spray to ensure the stickers are waterproof.
- Position in the Mold: Place the stickers in the mold where you want them to appear.
- Pour the Resin: Pour resin over the stickers, ensuring they are fully covered.
- Cure: Let the resin cure completely.
Handwriting with a paint pen
- Write Your Text: Use a waterproof paint pen or permanent marker to write your text on a piece of acetate or transparency film.
- Cut out the Text: Once the ink is dry, cut out the text.
- Seal the Text: Seal the text with a thin layer of Mod Podge or clear acrylic spray.
- Embed in Resin: Place the text in the resin mold and pour resin over it.
- Cure: Allow the resin to cure as directed.
TIP: You can also write directly on cured resin. Make sure you add a top coat or seal your piece to ensure it does not fade or smudge.
Vinyl lettering

- Design Your Text: Use a vinyl cutter or purchase pre-made vinyl lettering like these from Amazon.
- Pour Resin: Add a layer of resin to your mould. Let it fully cure.
- Apply Vinyl to Resin: Carefully place the vinyl lettering on your resin.
- Pour Resin: Pour resin over the vinyl, ensuring it is fully embedded.
- Cure: Let the resin cure as per instructions.
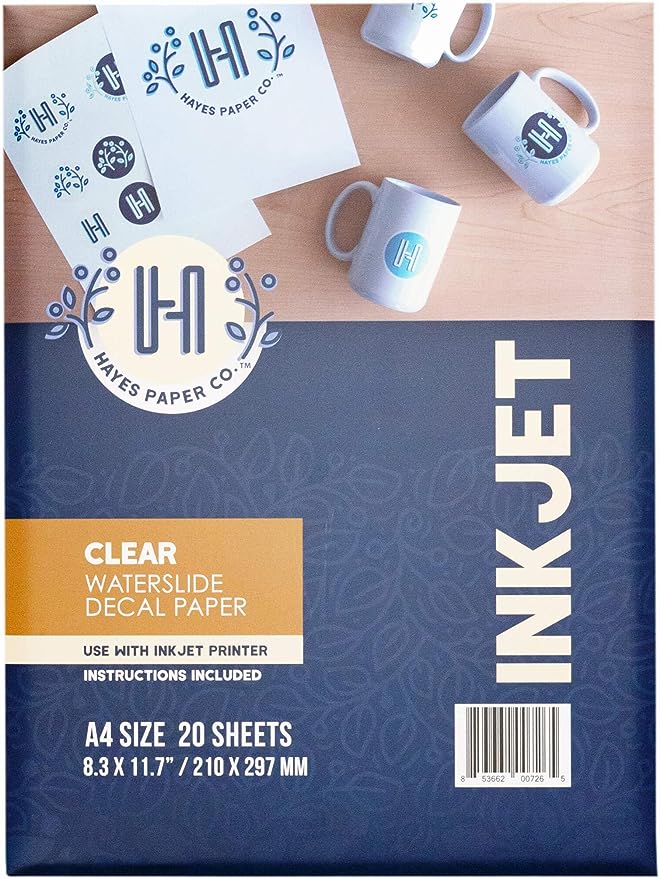
Waterslide paper for resin
- Print your Text: Print your text on to waterslide paper using an inkjet printer.
- Cut out the Text: Carefully cut out the printed text.
- Pour the Resin: Pour a thin layer of resin into the mold.
- Place the Text in the Mold: Place the text and let cure at least half of your resins cure time.
- Pour layer two: Fill to the top of your mould or add a top coat / dome.
- Cure: Allow the resin to cure as per the manufacturer’s instructions.
Using a Cricut machine for resin
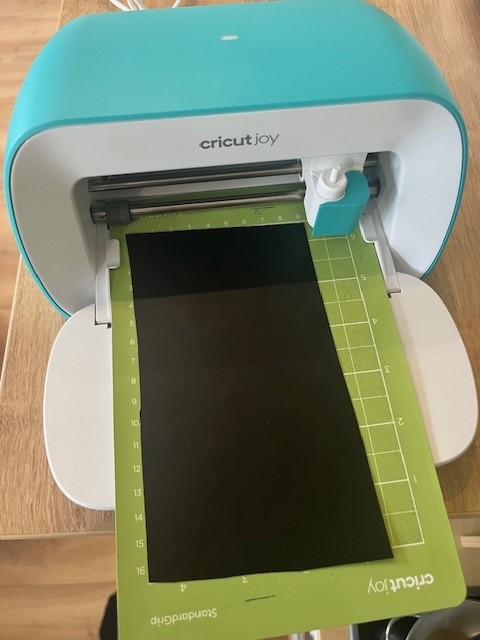
- Create Design: Design your text using software compatible with your Cricut Joy or similar cutting machine (e.g. Cricut Design Space).
- Cut the Design: Cut the text out of vinyl or other suitable material.
- Place in Mold: Position the text in your mold.
- Pour Resin: Pour resin over the text.
- Cure: Allow to cure completely.
Temporary tattoos
- Pick a tattoo: Choose from hundreds of temporary tattoo designs like these ones from Amazon. You can also buy temporary tattoo letters to make your own words and sayings.
- Pour Resin: Pour your first layer of resin and let it fully cure.
- Add your tattoo: Follow the instructions provided with your tattoo.
- Allow to dry: Make sure your surface is fully dry. Water and resin do not mix.
- Pour top coat: Ensure your tattoo is fully covered to ensure it is protected. Your second layer will also add a great shine.

Tips for Best Results
- Work in Layers: Pour a thin layer of resin first, place the text, then let it cure to the point it is sticky or fully cured then pour another layer of resin. This helps to avoid trapping air bubbles and stops your text floating.
- Use Clear Resin: Ensure the resin you use is clear to make the text easily readable.
- Avoid Bubbles: Use a heat gun, torch or alcohol spray to gently remove air bubbles from the resin surface after pouring.
- Cure Properly: Follow the resin manufacturer’s curing instructions for the best results.