

We take a look at Eco Resin and it’s suitability for using as a children’s craft.
What is Eco Resin?
Eco resin, short for “ecological resin” or “environmentally friendly resin”. It’s a type of resin that is designed with a focus on reducing its environmental impact (unlike most Epoxy Resins).
Eco resin is commonly used in art and crafts and jewellery making. It’s a relatively cheap way of making effective pieces.
As it sets in a really short time (you can demould it within 20 minutes!) it is really exciting for for children to get involved with.
As it is non-toxic, eco resin like Jesmonite and ResinCrete is perfect for craft projects with children.
My children are 3 and 4 and made their first Eco Resin project at the weekend. They loved eventually being able to get involved with my ‘grownups crafts’. They don’t get a look in at Epoxy Resin as it would be far too messy and the fumes can be harmful to younger people, pets and adults with lung on breathing issues (if not done with the proper equipment such as a respirator mask).
What you’ll need to create your Eco Resin craft
We used JDiction ResinCrete. Their starter kit contains nearly everything you need.
2 x Plastic Cups (we save yogurt pots which are perfect for this too)
1 x Stirrer
Protective sheet
Protective gloves
Silicone mould
Pigment – JDiction have additional colours for sale on Amazon
Sandpaper
Wax
Additional things you’ll need to have:
- Tap / bottled water
- Kitchen Roll
- Kitchen scales – the more accurate the better. We use these ones from Amazon.
How to work with ResinCrete
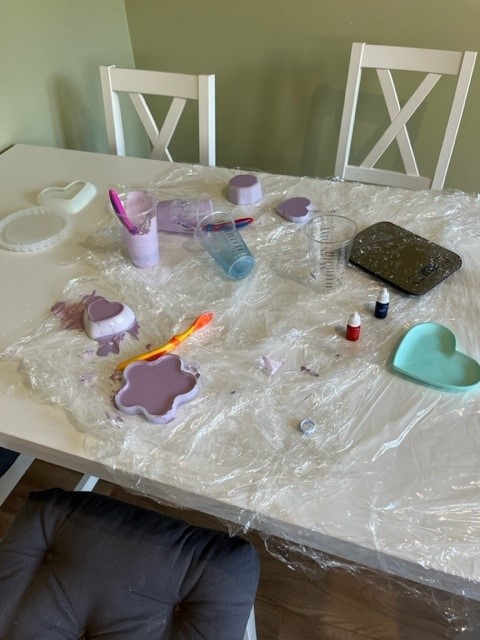
- Prepare your work space. Once mixed with water, you’ll only have 8-10 minutes to work with your ResinCrete so make sure you have everything you need ready (including some kitchen role for the inevitable spillages!).
- Choose your silicone mould. There’s hundreds of options out there but we chose the simple shapes provided in the ResinCrete starter kit.
- Choose your colour and have it ready (but out of reach of children at this stage or it’ll get messy!)
- Pour out 100g of ResinCrete powder in to one plastic cup.
- Measure 30g of water in to another cup.
- Pour the water slowly in to the ResinCrete powder and mix thoroughly with your stirrer. You want to make sure you have no lumps so its a good idea for the grownup to do a final stir making sure all of the powder is mixed.
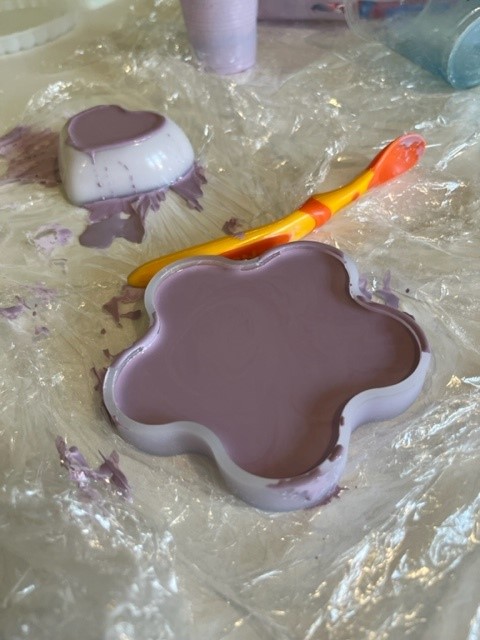
- Add in your colour pigment. You can mix colours but mix them together before adding to your ResinCrete (we didn’t and you’ll see how the colours separated – Oops!)
- Mix everything together really well and pour in to your mould.
- Tap the sides of your mould gently to release any bubbles (remember you don’t have long before it sets).
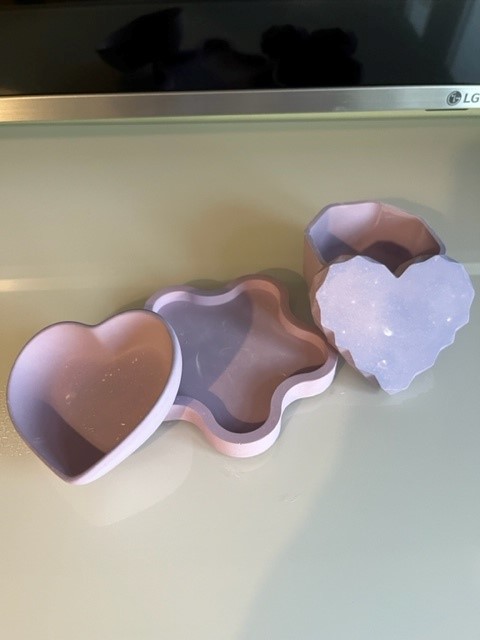
- Wait 30 minutes and check if your ResinCrete is solid. When it is you can slowly turn out your mould and check out your art.
- Your piece will take 24 hours to fully set so keep it somewhere safe on a protected surface.
- Once fully dry, you can sand your piece.
- If you want your piece to be protected from stains and waterproof, lightly cover with the wax provided using kitchen roll.
TOP TIPS
- Make sure your prepared as you don’t have long once you’ve mixed your ResinCrete.
- If you want to know how much mix to make, fill your mould with water and measure how much it takes on your scales first.
- All colours will come out much lighter but don’t be tempted to add too much pigment as your piece wont set.
- Your colours will continue to change as your piece sets. They can get darker for up to 48 hours so don’t panic when they first come out.
- Expect some mess!
- Don’t worry though, it can all be washed or scraped after.
Check out more of our blogs to find out more about Eco Resin.