
Are you thinking about getting started with UV Resin? Here’s some top tips for you to get you going.
Top Tips for Working with UV Resin
🛡️ Safety
- Wear gloves and eye protection: UV resin is sticky and can irritate skin. The UV light itself can also harm eyes with prolonged exposure.
- Ventilate your workspace: UV resin still gives off fumes* (though usually less than epoxy).
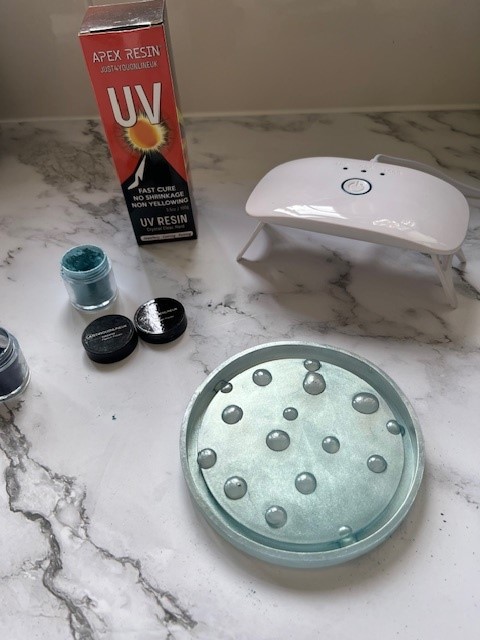
- Use proper UV lamps: Stick to lamps designed for curing resin — avoid makeshift high-powered lights that can damage eyes/skin or lights designed for nail art – they might not be strong enough.
⚖️ Application & Curing
- Work in thin layers: UV resin cures best in 1–3 mm layers. Thicker pours may stay soft or tacky.
- Cure between layers: Build depth by curing each layer before adding the next.
- Use clear moulds: UV light will not penetrate through coloured moulds. Clear moulds will allow light to get through the sides of your project too.
- Check for tackiness: If the surface feels sticky, cure it longer or flip the piece to expose hidden sides.
🎨 Colour & Creativity
- Add color sparingly: Too much pigment or glitter blocks UV light, slowing curing.
- Work on a silicone mat: Resin peels off easily, saving your table. We love these big ones from Amazon.
⏳ Storage & Care
- Keep resin in a dark bottle: Sunlight or bright light will harden it in the container.
- Don’t work in direct sunlight: Sunlight can also start to cure your project before you’re ready for it to. Take care when working in a sunny room or by a window.
- Store in a cool, dark place: Heat or light exposure shortens shelf life.
- Cap immediately after use: UV resin can start curing even from indoor lights.
* Always check the safety instructions that come with your chosen UV resin brand. If in doubt – always contact the manufacturer.