Do you want to learn how to make eco resin terrazzo cips?

Creating terrazzo effects with eco resin is a simple but effective way of adding texture and colour to your projects. This tutorial is using Eco Pour H2O but also works great with ResinCrete and can easily be created with Jesmonite and other similar eco resins.
Head to the bottom of the blog for your 15% off Eco Pour H2O and Eco Pigments code.
Project difficulty: Easy
Project time: 30 minutes
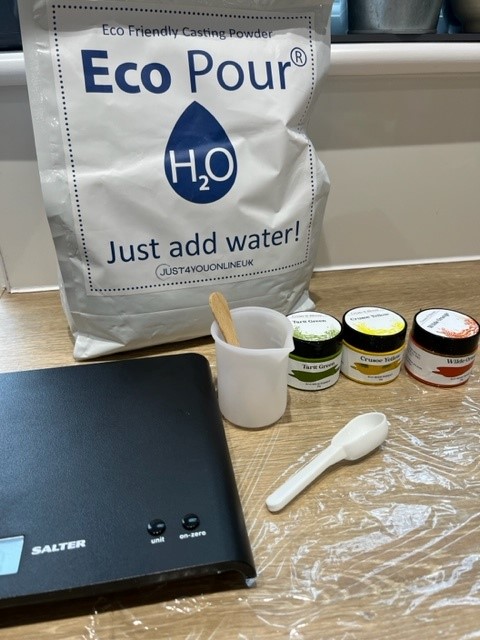
What you’ll need to create eco resin terrazzo chips
- Eco pour (or similar eco resin casting material)
- Eco pour pigments – we recommend Create and Bloom Eco Pigments (you can also use acrylic paint but the colours will not be as strong)
- Scales
- Tap water
- Mixing cups
- Stirring stick
- Sandpaper
- Clingfilm
How long will it take?
This is a great beginners project and you can create a huge range of chips in just half an hour.
How it’s done:
1) First set up your workstation

You only have 20-30 minutes working time with Eco Pour so you need to be prepared . I like to have everything lined up, colours with lids off and stirring sticks next to them.
You’ll also want to roll out some clingfilm ready for your terrazzo colours to be spread out.
Make sure you have enough space as you’ll need to spread your eco pour thinly over a large area.
2) Decide how much Eco Pour to make
To make a really good amount of chips I find that mixing up 25g of Eco Pour H2O is usually more than enough.
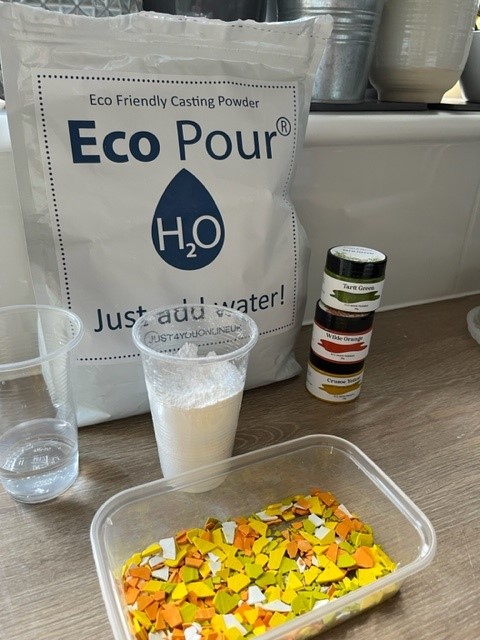
3) Mix your Eco Pour
Always follow the instructions for the brand you are using as they will vary.
Using scales will help ensure you get the perfect smooth mix. Make sure you don’t add too much water. It won’t help your powder go further but it could stop it from setting and from being as strong.
TIP: I like to add the powder to my cup first then slowly mix in water.
4) Add your colour
Once fully mixed and you have a smooth paste (take care to smooth out any lumps especially at the bottom of the cup) separate your mixture into smaller containers or cups – one for each colour.
Add a pea sized amount of your eco pigment colour to each cup and mix thoroughly. We recommend using gloves as eco colours are really strong and can stain your skin.
5) Pour your colours
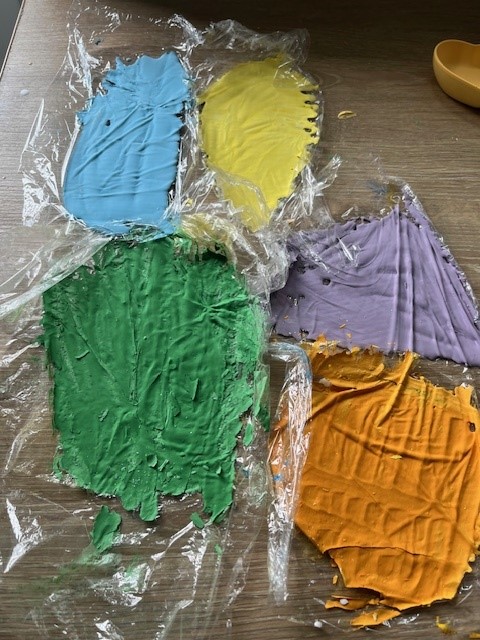
One at a time, pour each of your colours on to your saran wrap / cling film. Your layer should be as thin as possible while avoiding any holes – just over paper thin.
6) Let your Eco Pour set

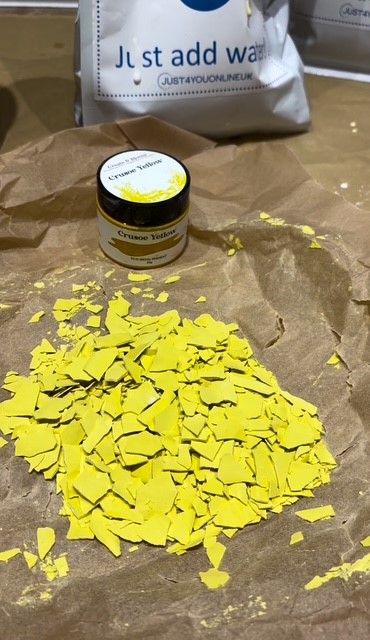
Wait 20 minutes for your Eco Pour to set. Once hardened slowly crunch your eco resin in to small chips. Doing this slowly will allow you to get a range of sizes and ensure not too much turns to dust.
You can either use these straight away or store them in a tub like I do to use in future projects.
DISCOUNT – Get 15% off Eco Pour H2O and Eco Pigments at just4youonlineuk.com using code RESINFORBEGINNERS

