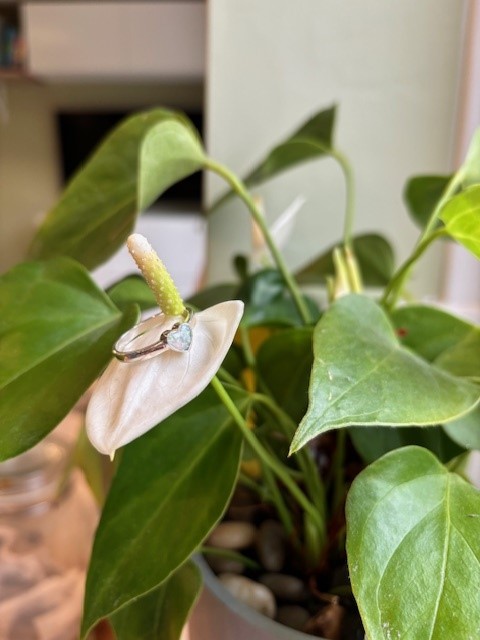
Learn how to make this simple but stunning UV resin silver heart ring with crushed opals. Check out our video at the bottom of the blog to see how it was made.
Difficulty: Easy
Time: 30 minutes
What you’ll need to make your UV resin ring
- Silver blank ring
We used this one from Casting Co. The quality of the ring was absolutely perfect and I really liked the modern style. They have lots of other options including made to order and gold to choose from. We highly recommend their jewellery blanks. - Crushed opals
Again this was from Casting Co. You can also use glitter, pigment paste or even add in preserved breastmilk or ashes to create a unique memorial piece.
We don’t recommend alcohol ink as this can be prone to fading in sunlight.
Check out our blog on adding breastmilk to resin. - UV Resin
We recommend a highly UV resistant and hard wearing UV resin as rings are likely to be exposed to differing temperatures, water and sunlight on a regular basis. We used this resin which can be cured with either a UV or LED light and was a high viscosity meaning it was easy to keep within our heart shape but was surprisingly bubble free. - Toothpick
- Plastic mixing bowl / container
We love recycling well cleaned yogurt pots for projects like this. - UV / LED Light
We recommend this one which is perfect for small projects but powerful enough to cure items quickly and thoroughly. - Jewellery box with ring foam
This will help steady your ring while you work with it.
How to make your UV resin ring
- Place your ring in to your jewellery box. Ensure it is steady.
- Pour a small amount of crushed opal (or your pigment / texture of choice) in to your plastic container.
- Mix a small amount of UV resin in to your texture.
TIP: Take care to make sure the resin is not exposed to sunlight or UV / LED light while mixing or it will begin to cure. - Using a toothpick, carefully add your resin to your ring blank in small parts at a time.
TIP: Move your lamp not the ring. This reduces the risk of your ring moving and curing unevenly. - Cure your resin under your lamp for 3 minutes.
- Add a layer of UV resin to your ring, again making sure you don’t add too much. You can remove excess with your toothpick.
- Cure again for 3 minutes.
And that’s it. It really is that simple!
Video tutorial
@resinforbeginners Learn how to make your own silver opal ring in under 15 minutes! 🤩 Silver ring, crushed opal and UV / LED resin from @Casting Co. UK 💙 I think this turned out beautiful. Full tutorial coming to our website this weekend. Its a perfect simple but effective beginners project #resin #uvresin #ledresin #opal #crushedopal #silver #silverring #heartting #makeyourownring #diyring #resintutorial #resinpour #resinforbeginners #diyjewelry #jewellerymaking ♬ Chill Vibes – Febri Handika
Enjoy getting creative and see what amazing jewellery you can make.

