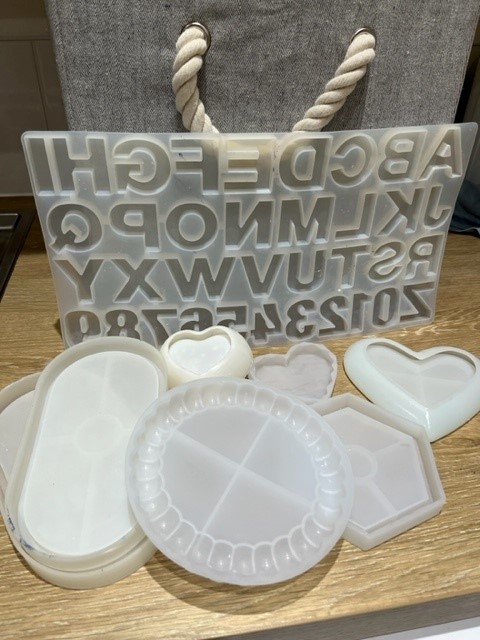
Fixing a silicone resin mould depends on what kind of damage it has. Sometimes it might be easier to replace than fix but here’s a guide based on some common problems.
Common Silicone Mould Problems & Fixes:
1. Small Tears or Cracks
Fix with: Silicone Adhesive / Silicone Caulk
Steps:
- Clean the mould thoroughly (use mild soap and water, then dry).
- Apply a clear silicone adhesive (like this one from amazon) along the tear.
- Press the tear together and tape it in place (optional).
- Let it cure for 12–24 hours.
- Remove any excess silicone carefully with a blade or small scissors.
2. Surface Imperfections (pits, scratches)
Fix with: Liquid Silicone
Steps:
- Mix a small batch of liquid (mould making) silicone. You can get reasonably priced bottles like this one from Amazon.
- Use a toothpick or brush to dab it into the pits.
- Let it self-level, then cure completely.
- Trim off any raised excess.
3. Hole or Missing Chunk
Fix with: Pour or mold silicone into shape
Steps:
- Use modelling clay to create a small temporary “form” around the missing section.
- Pour in liquid silicone to fill the gap.
- Let it cure, then trim and blend the edges with a sharp blade.
4. Mould Losing Shape
If it’s warped, try gently heating it (e.g., placing in hot water) and reshaping it. Be careful not to melt it – silicone can tolerate heat, but not boiling or direct flame.
While still warm, you can fill with rice to help mould its shape and let it cool.
Bonus Tips:
- Always clean with soap + water and isopropyl alcohol before repairing.
- Make sure you’re using platinum-cure silicone to repair platinum silicone moulds (tin-cure + platinum = curing issues).
- Use baby powder or corn starch to dust repaired areas before next resin pour if it feels sticky.
If you find your mould is beyond repair and you’re looking to replace it, check out our discounts page to view lots of money off codes for high quality mould suppliers.

