
Are you looking for a fun and easy beginner epoxy resin project? Epoxy keyrings are really fun to make and can be an inexpensive way of testing different ways of working with epoxy resin.
Difficulty: Easy
Time: 24 hours (48 if you are adding two layers)
Cost: Low
What do you need to make an epoxy resin keyring?
There’s loads of kits on the market that provide you with everything you need to get started on making your epoxy resin keyring.
We love this Zopaly epoxy resin keyring kit from Amazon as it contains everything including a decent sized bottle of two part 1:1 ratio epoxy resin that’s low in VOC’s and easy to work with.
At £25, you’ll get a huge amount in this kit to make a few trays worth of letters which is great for learning.
What’s included in the kit?
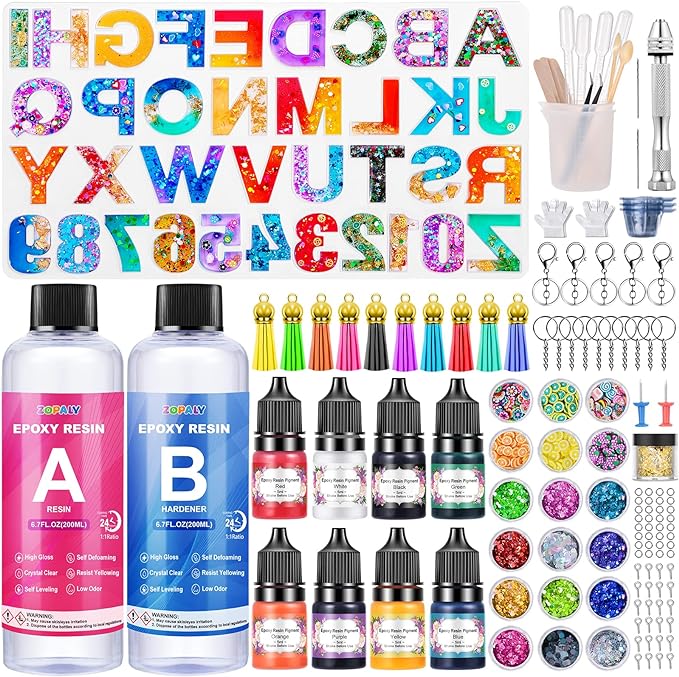
192 pieces include:
- 200ml resin and 200ml hardener,
- letter moulds for resin
- resin pigments
- glitter sequins
- gold leaf flakes
- silicone measuring cups
- wooden sticks
- tweezers
- gloves
- keychains
- tassels
- pins
- hand drill (for easily adding the screws needed for attaching your chain to the letter)
How to make an epoxy letter keyring
- Measure out your resin according to the instructions.
For this kit it is 1:1 (e.g. 20ml part A and 20ml part B = 40 ml total). You can use the measuring cups provided.
You’ll find that around 10-15ml will be enough to fill a letter with some resin left over for waste. Small amounts can be tricky to work with so I always do a few letters at a time or mix a bigger batch of resin and do multiple projects at a time.
TOP TIP: Cover your scales with cling film to avoid spilled resin sticking to your scales. This can affect the accuracy of your measurements.
- Stir your mixture
You want to make sure you stir for 3-5 minutes, even for small amounts. Your mixture should be crystal clear and not cloudy. Make sure you scrape the sides and bottom with your stirrer to ensure your part A and part B resins are mixed well. If you don’t do this, your resin will not set properly.
You will likely have some bubbles, don’t worry too much but don’t stir too fast or you’ll end up with too many. - Add your pigment or texture (glitter etc.)
You want to keep your additives to 2% under in comparison to your resin. E.g. 1ml pigment to 5-10ml resin. - Pour your resin in to your mould
- Leave to settle for 5 minutes
- Re-visit your mould and check for bubbles. You can pop bubbles with a small pin or use a heat gun for a few seconds.
- Leave to set for 24 hours (or according to the resin instructions).
- Un-mould your letters. Take care when doing this so not to damage your moulds.
- Lightly sand the edges with a very fine grit sandpaper.
- Use the hand drill to drill a very small pilot hole where you’d like to attach your keyring.
- Take the eyelet screw and twist it in to the pilot hole. You should be left only seeing the circle showing.
- Attach your keyring and tassels. Plyers are useful when doing this. You will need to slightly open the jump ring (the small metal circle) that attaches your chain and or tassel. Hook the jump ring around the eye of your screw then hook on your tassel or chain. Close the jump ring and ensure its secure.
- ENJOY 🙂
Creating a two layer keyring
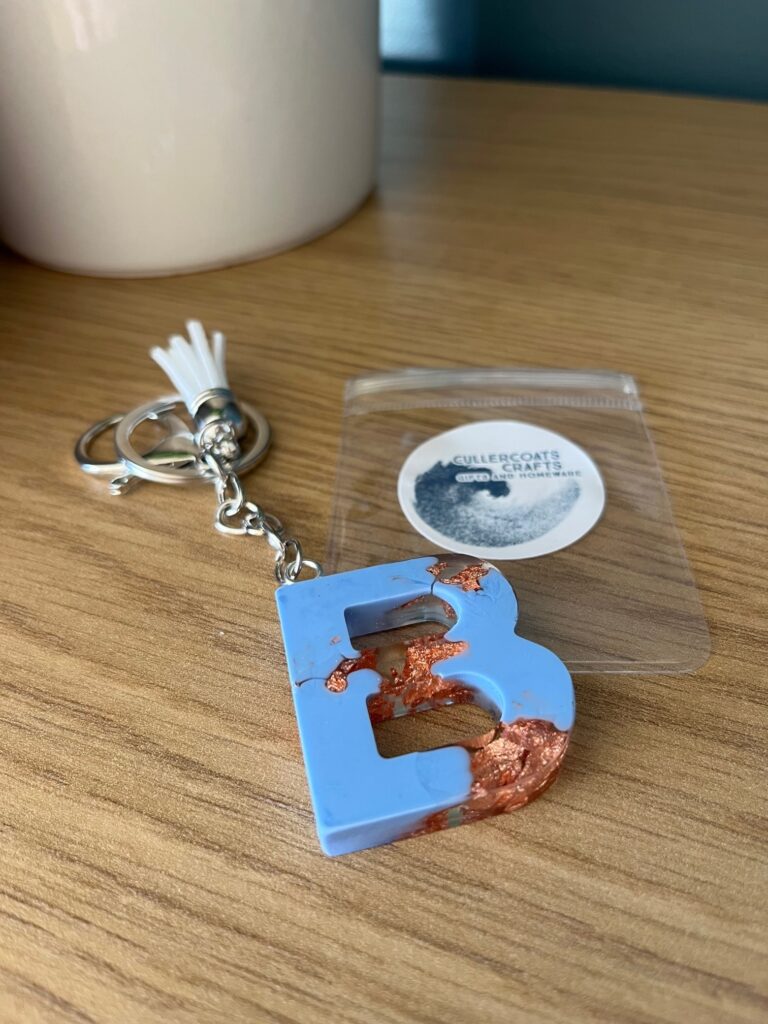
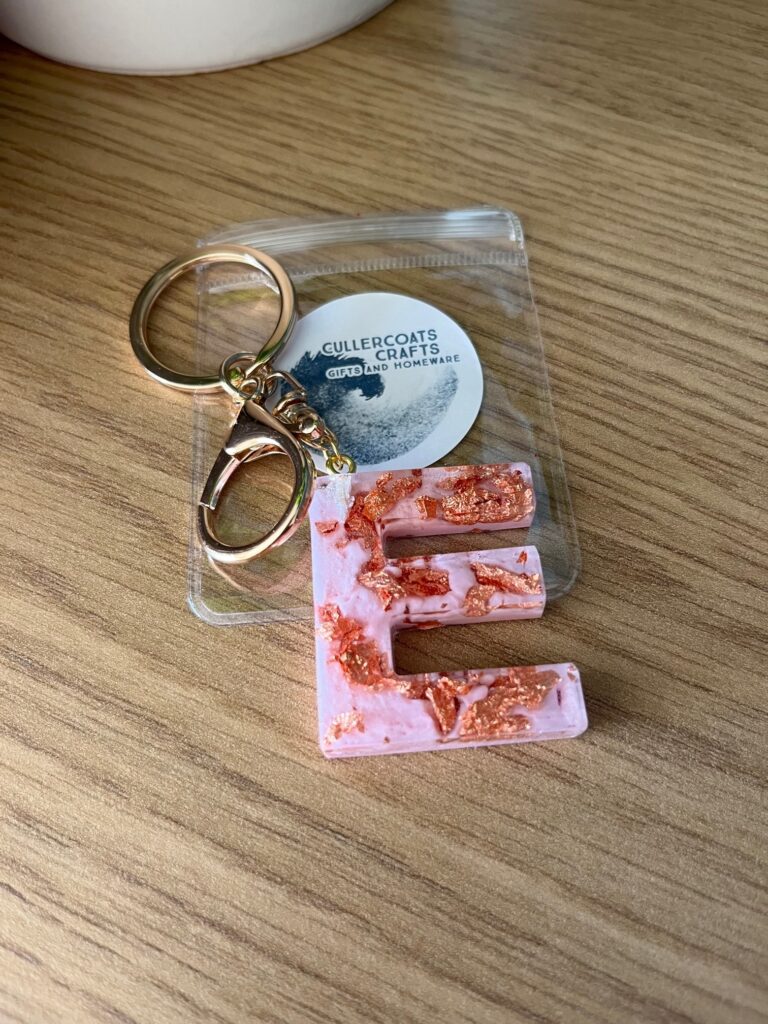
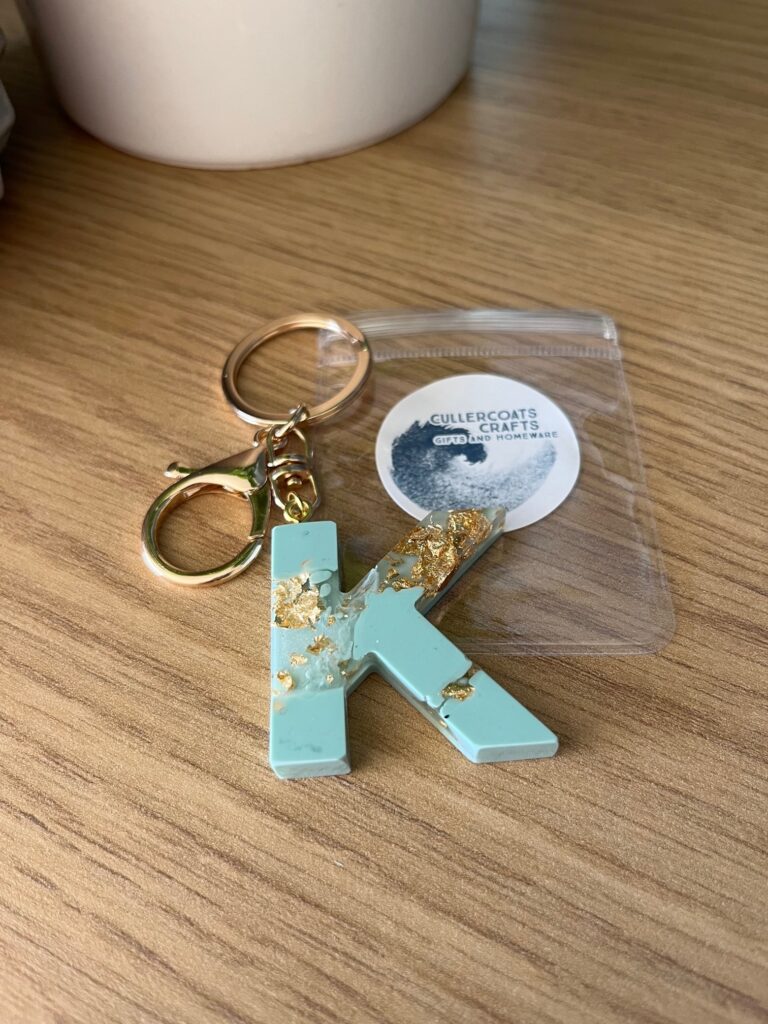
If you want to create two layers to your keyrings like the one below which has a gold leaf layer and second colour layer:
- Follow the instructions as per the above. Prepare a small amount of resin and add a small amount of gold leaf once your resin has been thoroughly mixed (it should be completely clear other than bubbles).
Tweezers are helpful to make sure you don’t get big clumps. Mix well and pour in to your mould leaving it half empty. - Allow your first layer to set for 12 hours or more.
- Mix your second batch of resin. Add your pigment and pour in to the mould. Remove bubbles as per the above.
- Allow to set for 24 hours.
- Demould, sand and attach accessories as per above.
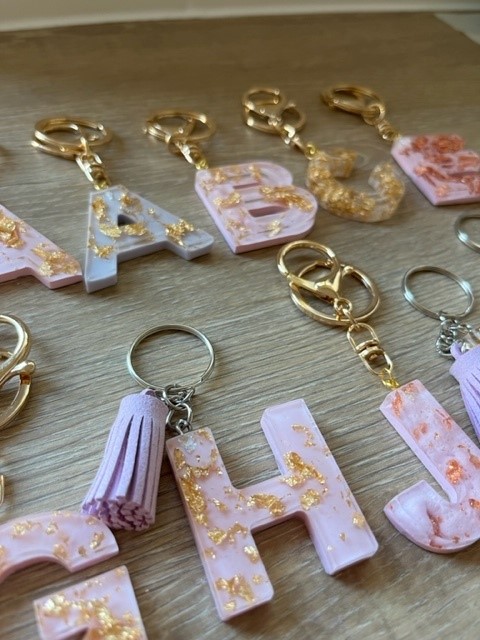
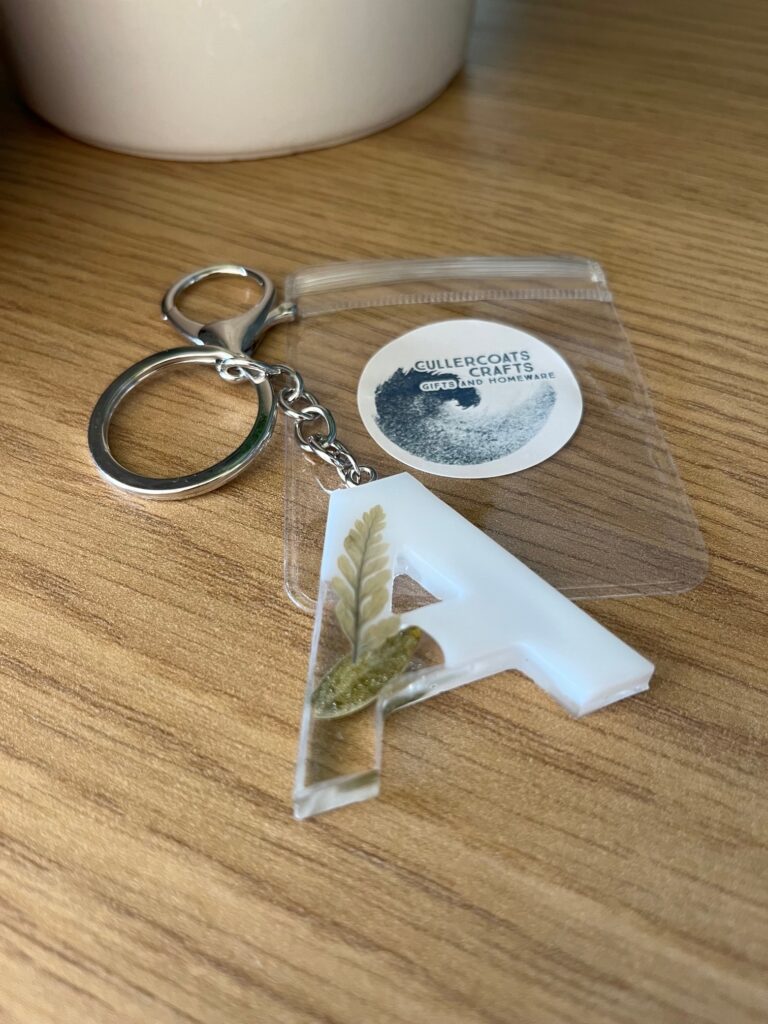
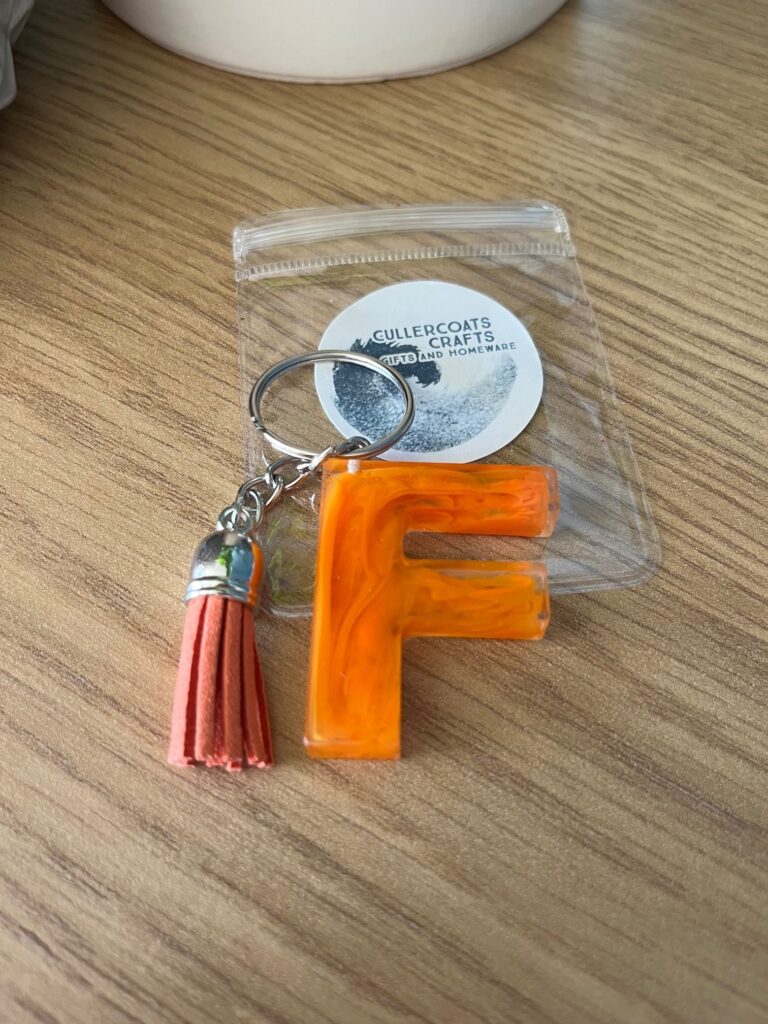
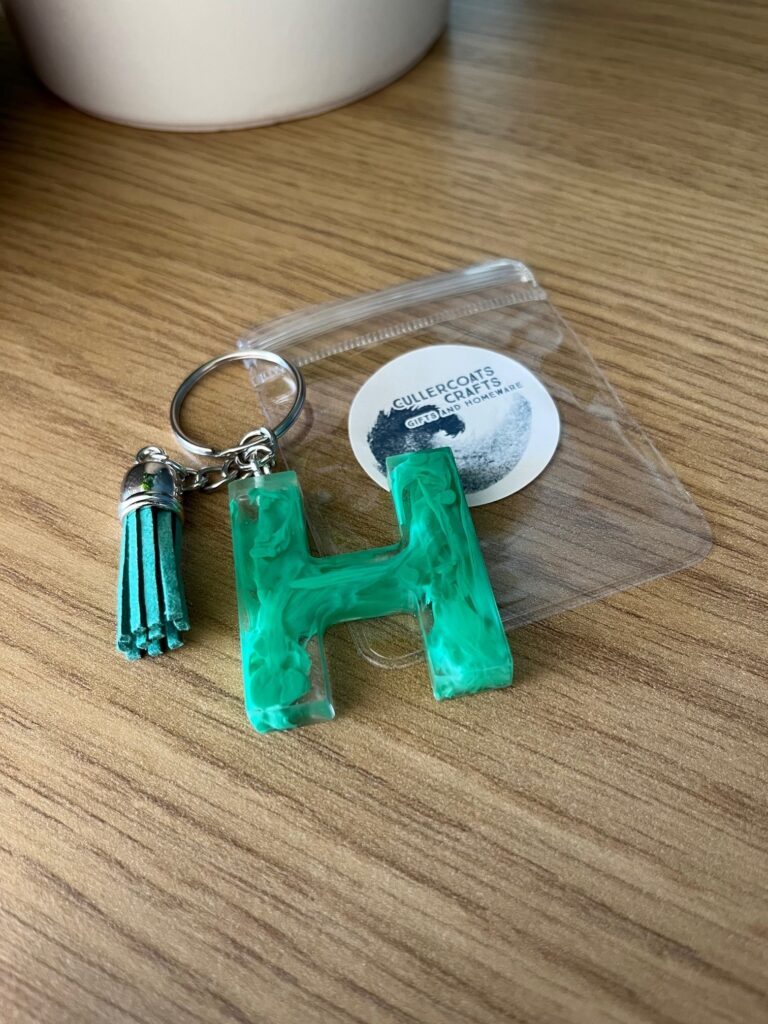
You can play around with a huge number of styles and its your own personal preference. Some of the examples below have used alcohol ink where as some use epoxy paste. Plants and glitter are a great way of adding texture too. Just make sure that you keep your ratio of colour to resin at 2% or less. Adding too much alcohol ink or paste will mean that your letters might not set properly. Any plants or leaves should be filly dry before used as again, moisture can impact how your resin sets.
I am SO EXCITED to have found this group on Facebook somehow at random! I have been working with resin for just a few months now and it is so time consuming to scan YouTube for help when I have a question or issues with my projects that I’ve hit some type of block with after diving in head first teaching myself! Thanks so much for creating this space for us all to help one another and/or collaborate!!!
Thank you so much for your lovely comments. So glad to have you as a part of our community.