
Adding photos to epoxy resin is a beautiful way to preserve memories and create personalised art. From coasters and jewelry to trays and wall art, embedding photos in resin lets you turn meaningful moments into long-lasting keepsakes. If you’re new to this resin crafting, don’t worry – this guide will walk you through the basics and help you get the best results.
Why Put Photos in Resin?
Epoxy resin is clear, durable, and glossy, which makes it perfect for displaying images. When done correctly, it:
- Protects photos from moisture and wear
- Enhances colors with a glass-like finish
- Creates unique, professional-looking gifts
- Preserves special memories
Materials You’ll Need
Before you start, gather your supplies:
- Epoxy resin + hardener (art/craft grade)
- Printed photos
- Mod Podge or clear-drying glue
OR
Laminator and laminating pouches
We recommend this laminator which comes with 50 laminating pouches.
OR
Self seal laminating pouches
Check them out here on Amazon. - Silicone mold or resin-safe surface
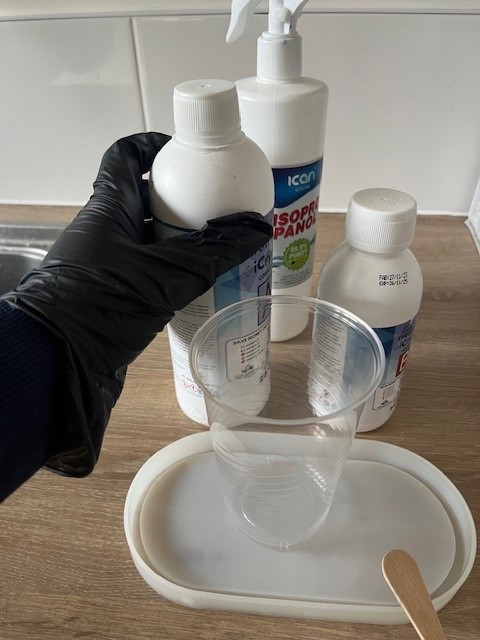
- Mixing cups and stir sticks
- Gloves and protective covering
- Scissors or craft knife
- Optional: tweezers, heat gun/lighter for bubbles
Step 1: Choose and Prepare Your Photo
Important:
You need to seal the photo to prevent bleeding there are three ways this can be done.
- Using mod podge or another clear drying glue – see our blog for further instructions on how to do this.
- Seal with a laminator using laminating pouches.
- You can also use self laminating pouches which do not use a laminator to heat the pouches.
TIP: Cut your photo to size before sealing if possible.
Step 2: Mix the Resin
Follow the manufacturer’s instructions carefully.
- Measure resin and hardener precisely
- Mix slowly for 3–5 minutes
- Scrape sides and bottom of the cup
- Avoid whipping in air bubbles
Step 3: Pour a Base Layer
Pour a thin layer of resin into your mold first.
Why?
This creates a clear background and prevents the photo from touching the bottom surface.
Let this layer sit for 20–40 minutes until slightly tacky (not fully cured).
Step 4: Place the Photo
- Gently place your sealed photo onto the tacky resin
- Use tweezers for precise placement
- Smooth it flat to remove trapped air
- Ensure edges are pressed down
- Allow to cure
Step 5: Pour the Top Layer
Carefully pour more resin over the photo.
Tips:
- Pour slowly to avoid bubbles
- Cover the photo completely
- Pop bubbles with a heat gun or quick flame pass
Step 6: Let It Cure
- Cover your piece to keep dust away
- Let cure 24–72 hours (per resin instructions)
- Keep it level while curing
Pro Tips for Best Results
✨ Do a test piece first
Don’t rush in to working with precious pictures. Always test with something that can be replaced. We suggest always working with copies of photos. Resin can be unpredictable and sometimes even experts can have issues with photos.
✨ Work in a warm room
Cold temperatures cause cloudiness and bubbles.
✨ Don’t rush curing time
Fully cured resin is clearer and stronger.
Creative Ideas
Once you master the basics, why not try:
- Photo coasters
- Memorial jewelry
- Wedding bouquet + photo resin blocks
- Family photo trays
- Pet memorial pieces