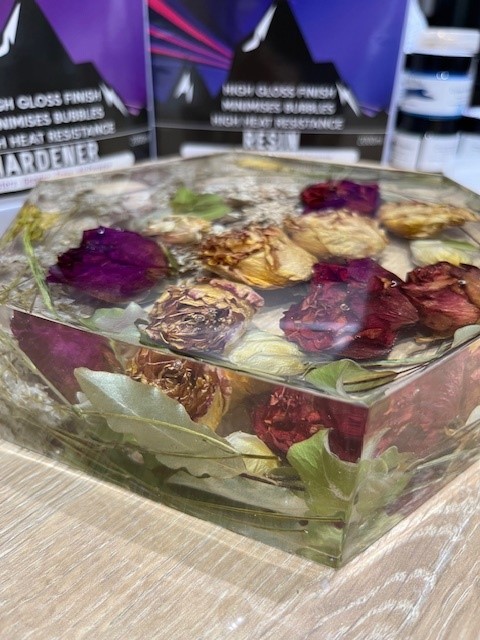
Why add a top coat to your epoxy resin project?
A top coat can be a great way of adding a professional finishing touch to your epoxy resin project. Top coats can also hide imperfections like scratches, bubbles, amine blush or dust particles that have fallen in your work while curing.
Here’s some more reasons for why you might want to add a top coat:
- Create a professional look
- Add shine
- Hide imperfections
- Reduce edges
- Add a heat resistant finish
- Add a food safe finish
How to prepare your resin project for a top coat
Firstly, if you have any imperfections like amine blush, scratches or marks, you will need to sand your project down.
- Make sure your project is fully cured before you begin preparations for a topcoat.
- You should start with a high grit (rough) sandpaper to take out the deep imperfections and slowly work through the range of sandpapers to a finer grit (smooth) sandpaper so that the indents aren’t as deep.
This pack from amazon has a full range of grits; perfect for prepping your project. - Clean your project with isopropyl alcohol spray to remove any debris. Ensure it is left to fully dry.
Different types of epoxy resin top coats
There’s a range of different methods for adding a top coat to your resin project. Read on to find out more or add your own methods in the comments section.
Epoxy resin top coat
A high viscosity (thick) resin like a specific topcoat or fast cure resin can be great for adding a topcoat as it allows you to build a dome and can be less likely to run around your edges.
You can mix your resin as per the instructions and add directly to your prepared project.
If you want to avoid resin going over the edges of your project, use a fine toothpick or silicone stick to slowly push your resin toward the edges. Alternatively, you can tape your project up with resin tape. If using resin tape – make sure your resin is fully cured before removing it or you can end up with uneven tacky edges.
Epoxy resin flood coat
A flood coat is similar to the above, but you will use a lower viscosity resin (like a general purpose 1:1 ratio resin).
You will want to ensure the bottom of your project is covered with a liquid latex, PVA Glue or Mod Podge to prevent any resin sticking to the bottom or for your project sticking to the cup.
Once you have sealed the bottom, raise your project on a plastic cup or something similar (keeping in mind that this cup may get covered with resin and needs to be strong enough to hold your project).
Next, mix your resin as per the instructions and pour allowing it to fall over your edges. Using nitrile gloves, rub the resin in to your edges to ensure you have a good event coverage.
Allow the resin to cure fully before removing the latex bottom with a sharp took like craft knife or pin.
UV Resin top coat
If adding a clear topcoat, UV resin might be a good option. You can easily find scratch resistant and heat resistant UV resins that will be a good durable topcoat. As UV resin requires UV lights to cure, they lend themselves better to smaller projects.
Again, using a small stick or toothpick to slowly work the resin to the edges of your project. As UV resin is usually thick, there is less risk of it running off the edges. You can use resin tape here too if you want a sharp and defined edge.
Lacquer spray
A lacquer spray like this one can be a great way of adding a tough UV resistant finish to your project. You can use the spray to cover your project.
Ensure each layer is fully dry before adding the next. You may need to add 2-3 layers to ensure maximum coverage and strength.

