

Learn how to make your own simple and easy pocket hugs. Easily customisable, they make perfect gifts and can create good profits at craft fairs or for your small business. Our easy to follow pocket hug tutorial shows how it’s done. There’s even a video tutorial too.
Project Time: 24 hours (less if using a curing machine or fast cure resin)
Project difficulty: Easy
What you’ll need to make a pocket hug
- Epoxy Resin
Get 15% off Apex Resin with code RESINFORBEGINNERS - Glitter or pigment
- Bear mould
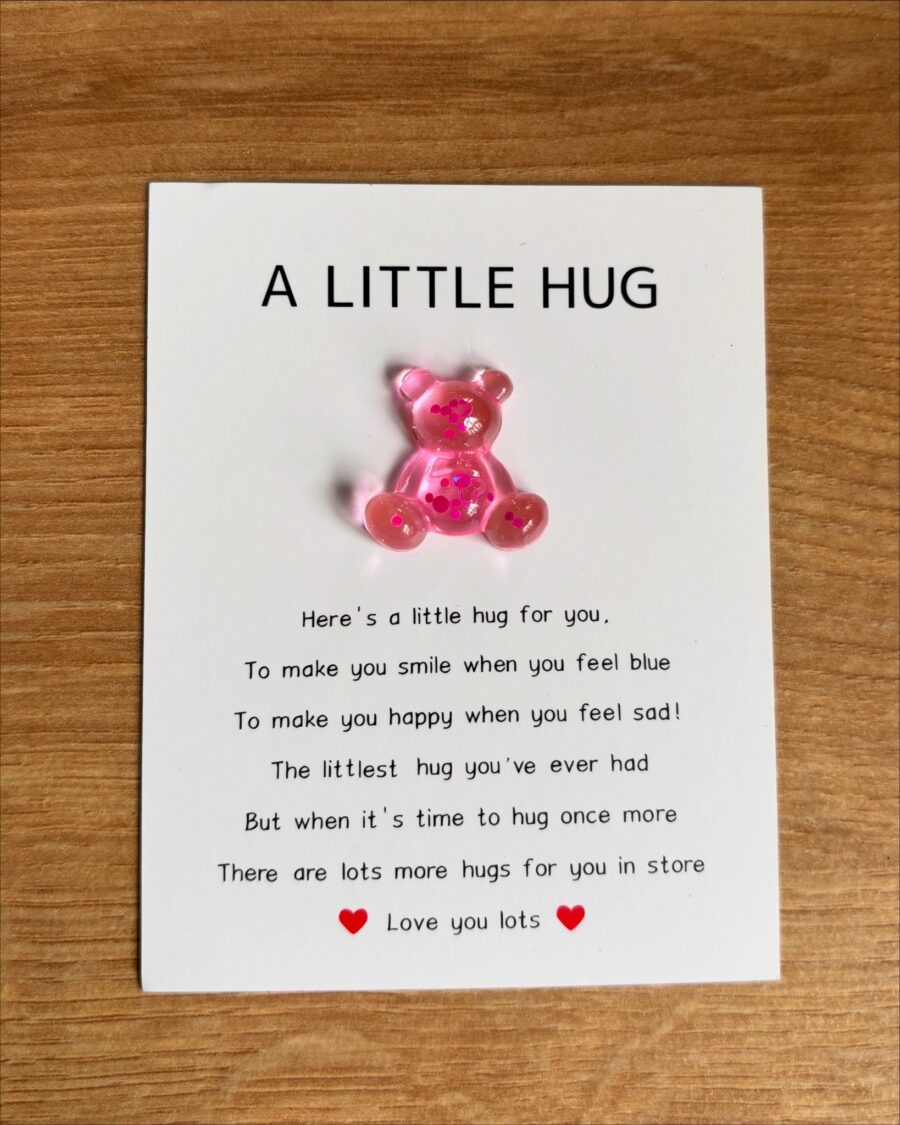
We used this one from Amazon which means you can do loads at the same time. - Pocket hug card
For this one you can buy pre-made cards that are printed with messages like these. Or you can print on to card and cut at home (as great way to further personalise your hugs). - Glue dots
For attaching your hug to your card but allowing them to be easily removed.. - Mixing cups
We find ones with measurements on to be super easy as you can pour and mix in one cup. - Stir sticks
- Gloves
Nitrile gloves like these give the best protection. - Respirator Mask
(See more on protective equipment for resin here).
How to make your pocket hugs
- Mix your resin according to the brands instructions.
- Add your colours and or glitter.
TIP: We like to split our batches and add different colours. - Pour carefully – we like to use the stir sticks to slowly drip the resin in to the mould. The bears especially are so small, you need to be able to control the pour.
TIP: Make sure you don’t over pour! These small moulds can be tricky to sand after you’ve unmoulded them. See the video below to see what we mean … oops! - Let your resin cure.
TIP: Make sure you let your mould cure on a flat surface to ensure the backs are level. - Once cured, unmould your hugs.
- Attach a sticky dot to the back of your hug and place on the card.
@resinforbeginners Result at the end 🧸 #resin #epoxy #resinpour #resintutorial #resinforbeginners #resinart #resingift #pockethug ♬ Bears – Noctum47