
Are you wondering how to add layers to your epoxy resin project? We talk about why you might want to do this and different ways it can be done.
Why pour epoxy resin in layers?
There’s a few reasons why adding layers can be really helpful for your epoxy resin project:
Maximum pour depth of resin
- You should always follow the instructions for your chosen resin brand. They will vary!
- If you are using a general casting / all rounder resin (usually 1:1 ratio), there will be a maximum pour depth.
- Pouring too much resin in one go, over the recommended depth of your resin, can cause a flash cure as the chemicals react too quickly together.
Find out more about what a flash cure is and how to avoid it. - Pouring in layers can reduce this possibility while still allowing you to use deeper moulds.
- When pouring in layers for a deeper project, ensure the first layer is tacky (usually around half the cure time) before adding your second layer.
- If you are using different resins (either different brand or different type e.g. one layer fast cure and one layer deep pour), ensure each layer is fully cured before adding the next. Different resins will have different chemical compounds and mixing the two when not fully cured, can cause issues with the curing stage.
We recommend always using a proper deep pour resin when working with larger projects to minimise bubbles and reduce the need for layers. Get 15% off Apex Deep Cast with code RESINFORBEGINNERS.
Separating colours in resin
- Layers can be a great way to add defined colours to your project. You might want to have a clear layer or one colour on the front and one on the back.
- Lots of people will use layers to form ocean effects too.
- Letting one layer fully cure before adding the next will stop the colours from blending.
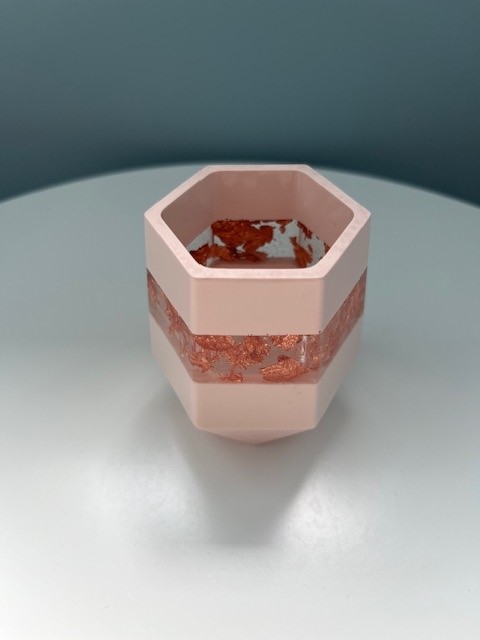
Check out our blog on making resin coasters to see how we created a layer with gold leaf and another with colour to create a great effect.
Adding objects, texture or flowers to resin
- Objects like flowers, inserts, photos and text to your resin project can be tricky. Most of these things will likely float.
- Adding layers will allow you to ‘anchor’ your objects in a thin first layer so they don’t float to the top.
- You can also add different objects in each layer. This is great for things like memory preservations projects and pyramids.
TIP: If you are adding photos, you can wait until your first layer is tacky then gently press your image in to the resin, slowly working out bubbles. This will ensure the resin has a firm grip on the image and doesn’t cause air bubbles during the curing process. - If you are adding two clear layers of resin, you can pour your second layer when the first is tacky (usually half of the usual cure time). This will minimise the visible line between your two layers.
- If you are using two different resins for each layer, make sure the first layer is fully cured. Resin brands or types should not be mixed unless fully cured as the chemical compounds differ and may not fully cure or could lead to flash cures if mixed when not cured.
Check out our blog on adding flowers to a resin letter to see how we used layers.