Find out why and how to use a heat gun for resin crafting.
Why use a heat gun with resin
Are you wondering why you might need a heat gun as part of your essential resin kit? We take a look at some of the ways a heat gun can be used for resin crafting.
Making resin waves
Do you want to create a perfect beach scene or waves with resin? You’ll need a heat gun to blow the resin around and create the cells with your white pigment.
To reduce bubbles in resin
Applying heat to your resin once its been poured into a mould can pop bubbles and create a smooth bubble free resin finish.
To create patterns in resin
Using a heat gun can help create patterns in multiple colours of epoxy resin because the heat and speed of air will shift your resin. It’s really fun to do too!
To reduce the viscosity of epoxy resin
Is your resin a bit too thick coming out of the bottle? Are you struggling to pour it? It might be because your resin is a little under the ideal temperature.
Heating your resin up with a heat gun once you’ve poured it into a heat safe container will help make it more runny and much easier to mix.
What kind of heat gun do I need for resin?


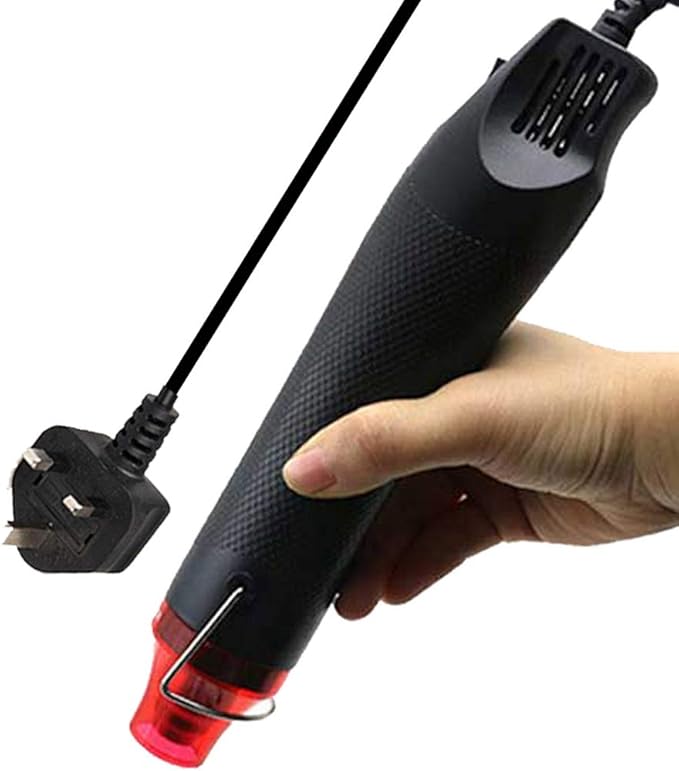
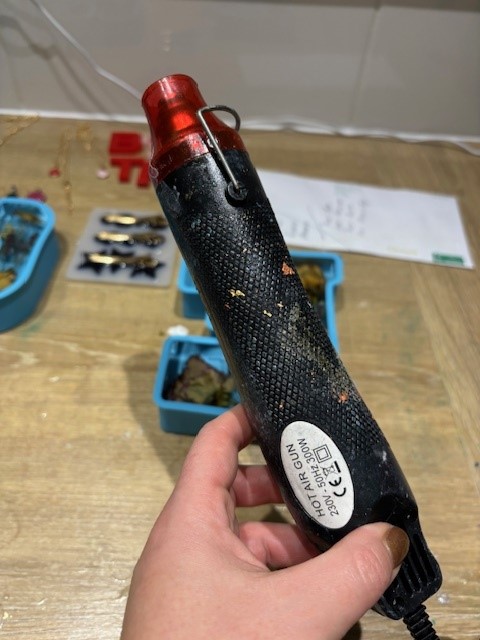
You can get a wide range of craft heat guns on amazon that are under £15 / $20 like this one in the picture which I used a LOT when starting out. It is great but not temperature adjustable and sometimes the nozzle is a bit wide for smaller things like jewellery.
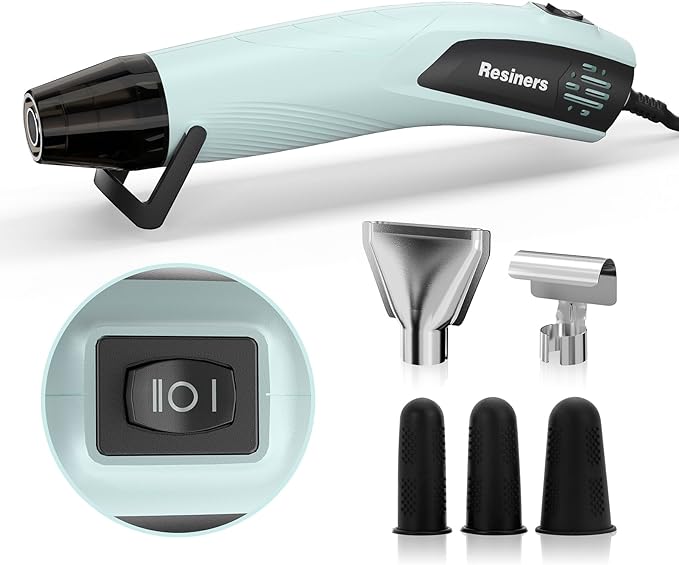
If you’re looking for a heat gun that is temperature adjustable and comes with attachments for smaller pieces and for making ocean scenes / waves with resin, then the Resiners Heat Gun is perfect. When you buy direct from their website (link in the button below) you can choose your plug attachment too to suit your country.
How to use a heat gun to get rid of bubbles in resin
Once you’ve poured your mixed resin in to your mould, let it settle for 5-10 minutes. You’ll notice any left over bubbles rise to the surface.
IMPORTANT SAFETY NOTICE – DO NOT USE A HEAT GUN AFTER SPRAYING ALCOHOL. ALCOHOL / ISOPROPYL SPRAY IS HIGHLY FLAMMABLE.
Turn on your heat gun and allow it to to warm for a few seconds. Next run the heat over your resin.
Try and keep the heat away from silicone moulds as excess heat can cause them to warp, split or loose their shine.
Keep the heat moving around your resin. Keeping the heat on one spot for too long could cause a flash cure.
TIP: Take care when using heat on small items. They can be blown around too much and resin can spill over moulds.
SAFETY ADVICE
Always ensure you are careful using a heat gun. Remember, they get REALLY hot. Always place your heat gun on a heat resistant surface like a heat resistant silicone mat when you are finished with it and remove it from the plug / outlet.

