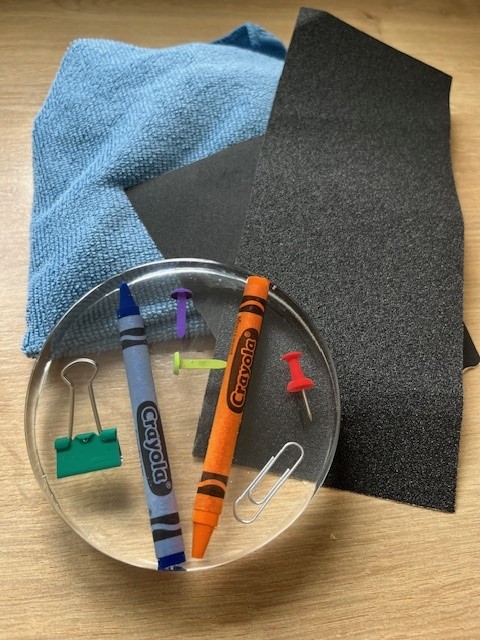
Why sand epoxy resin?
Sanding your resin project can be a great way to remove imperfections like bubbles, finger prints, amine blush and lots more. You may need to sand rough edges that appear once you’ve demoulded or drips or resin from a top coat. Sanding can also help you achieve a real glassy finish which is great especially for things like memorial pieces and tables.
Sanding resin is a process that requires patience and attention to detail to achieve a smooth and polished finish. Here’s how it should be done.
Before you start
Before you begin sanding your epoxy resin, make sure it is fully cured. Soft or sticky resin will mean that you will not be able to apply pressure and risk dust particles being embedded deeper in to your piece.
What you’ll need:
- Sandpaper (various grits: 120, 220, 320, 400, 600, 800, 1000, 1500, 2000)
- Water (for wet sanding)
- Spray bottle, container or bowl of water
- Soft cloth or microfiber cloth
- Polishing compound (optional)
- Buffing pad or electric polisher (optional but good for larger projects)
- Safety equipment (gloves, respirator mask, and safety glasses)
Read more about protective equipment for working with epoxy resin.
How it’s done:
1. Safety First:
- Wear gloves to protect your hands.
- Use a mask to avoid inhaling resin dust.
- Wear safety glasses to protect your eyes.
It is also a good idea to protect your work surface to avoid accidental scratches and to make the clean up easier once you’re finished.
2. Start with Coarse Grit:
- Begin with 120-grit sandpaper to remove any major imperfections, rough edges, or bubbles.
- Sand in a circular motion or with the grain of the resin if there is a pattern.
- If the piece is large, consider using a sanding block to keep the surface even.
3. Progress Through Finer Grits:
- Move to 220-grit sandpaper and repeat the sanding process.
- Next move to 320 grit, his will help remove scratches from the previous grit and make the surface smoother.
3. Wet Sanding:
- Once you reach 400-grit sandpaper, switch to wet sanding. This helps to reduce dust and keep the sandpaper from clogging.
- Use a spray bottle to mist the surface with water or dip the sandpaper in water before sanding.
- You may need to keep rinsing your resin and sandpaper as you go.
- Continue to progress through finer grits up to 2000 or higher if desired.
4. Cleaning:
- Wipe the surface with a damp cloth to remove any sanding residue between grits.
5. Polishing (Optional):
- If you want a high-gloss finish, apply a polishing compound to the resin.
- Use a soft cloth or a buffing pad to polish the surface.
- Buff the resin in a circular motion until you achieve the desired shine.
6. Final Inspection:
- Inspect the resin piece under good lighting to ensure it is smooth and free of scratches.
Tips:
- Patience is key: Take your time with each grit to ensure a smooth finish.
- Even pressure: Apply even pressure while sanding to avoid creating low spots.
- Clean frequently: Keep the surface clean during the sanding process to avoid scratching.
Following these steps will help you achieve a smooth and polished finish on your resin projects.


Thank you ,was help me alot to understand how to sanding resin .