
Are you wondering how to pour your resin like a pro? Pouring resin can be really satisfying if you’ve mixed it right.
Before You Pour
Make sure:
- Resin is fully mixed (no streaks/cloudiness).
TIP: Check out our blog on how to mix your resin. - Your work area is level.
TIP: Using a level table like this from Amazon can be a lifesaver when you have a wonky surface - You’re working in a dust-free, well-ventilated area.
- You have gloves and something to cover the piece after pouring (like a box or tote). We use food covers like these for smaller projects to prevent dust particles falling in to the resin before it cures.
🌀 How to Pour Epoxy Resin
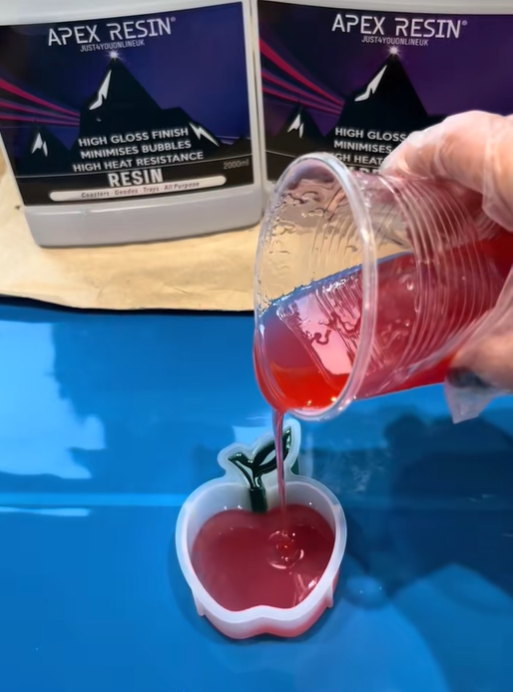
1. Pour Slowly & Steadily
- Go low and slow: Let the resin flow gently from your cup just above the surface to reduce bubbles.
- If you’re working in layers or with colors, pour in sections (e.g., puddles, swirls, lines).
- Use a silicone stick or spatula to spread it if needed but be gentle so you don’t introduce bubbles.
2. Don’t Overwork It
- The resin will self-level (especially if it’s for coating/tabletop resin).
- You can guide it to edges, but don’t keep poking it or you’ll trap air or disrupt the flow.
3. Use a Torch or Heat Gun
- Gently pass a heat gun, torch, or even a hairdryer (on low) over the surface to pop air bubbles.
- Don’t hold it too close—just hover over it a few inches. Too much heat can damage your mould.
TIP: You can also use alcohol spray to pop surface bubbles. Read our blog on other tips to reduce resin bubbles.
4. Watch the Edges (If You’re Coating)
- Let the resin drip naturally off the edges.
- Use a gloved finger or tool to smooth edges or catch drips.
- Place something underneath to catch overflow (like a silicone mat or plastic sheeting).
5. Let It Cure Undisturbed
- Cover it with a box or bin to keep out dust.
- Don’t touch it! Curing usually takes 24–72 hours, depending on brand/temp.
🎨 Pouring Art-Specific Tips
Want cells, swirls, or color blends?
- Use multiple cups of colored resin
- Pour them into another cup in layers or shapes, then tilt or swirl as you pour
- Experiment with silicone oil or different pouring techniques (dirty pour, swipe, etc.)