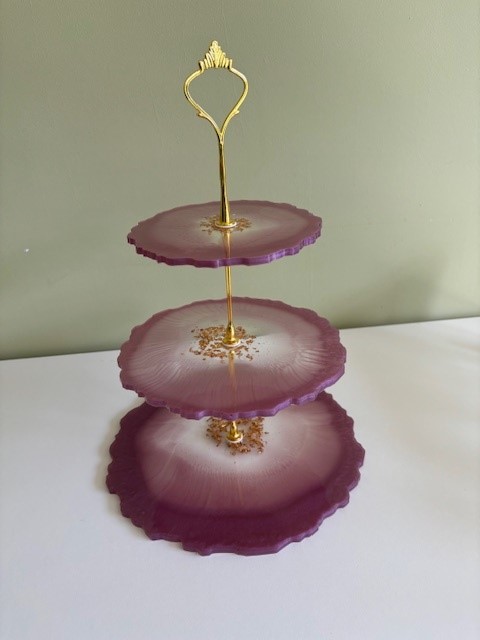
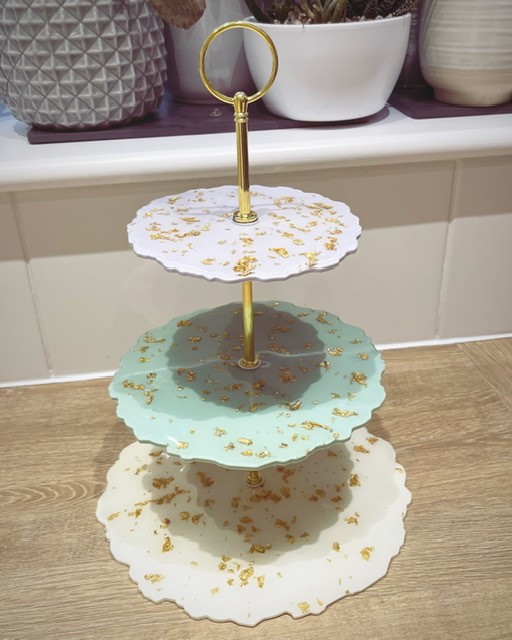
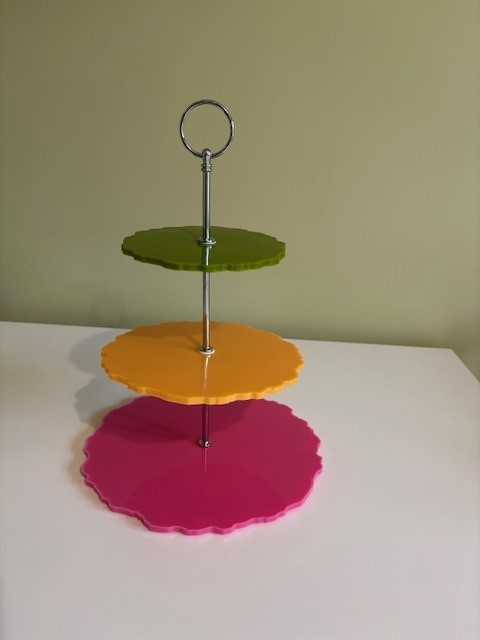
Our easy to follow resin cake stand tutorial talks you through all you’ll need to know to make this really easy but beautiful project.
We begin with simple one colour layers but scroll to the bottom of the blog to view our gallery and get some more ideas of how you can get creative with cake stands.
Project time: 24 hours
Difficulty level: Easy
What you’ll need to make a resin cake stand
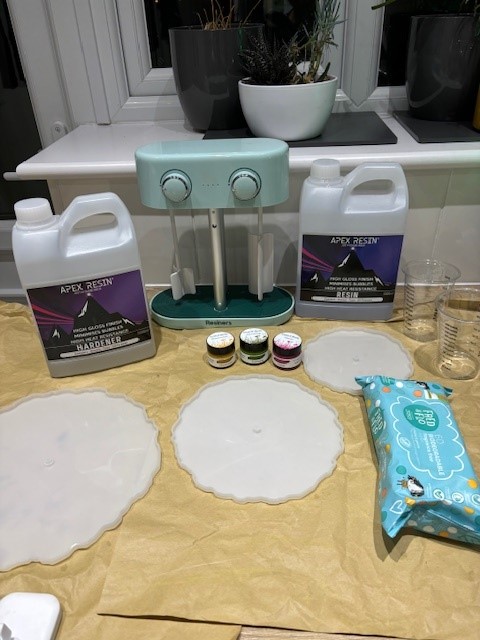
Epoxy Resin

We love using Apex Resin from Just4youonlineuk. They have a range of resins including high gloss, fast cure and deep pour. For this project, its best to use a fast cure or general purpose crafting resin.
We love using Apex Resin from Just4youonlineuk. They have a range of resins including high gloss, fast cure and deep pour. For this project, its best to use a fast cure or general purpose crafting resin.
Cake Stand Mould
Amazon, SHEIN and Temu all have a wide range of moulds in a variety of shapes and sizes. This one from Amazon comes in a two pack and has some gold leaf and posts as great value added extras.
For our US readers – head here to purchase from Amazon.
Mixing Cups
Use disposable plastic or reusable silicone mixing cups for mixing the resin. We like to save yogurt pots too but make sure they’re washed really well.
If your resin is to be measured by volume, you will need marked measuring cups. If it is by weight, you’ll want a good pair of kitchen scales.
Stir Sticks
Silicone stirrers are best as they are easy to clean and reusable. They can reduce bubbles too. We often use wooden lolly pop sticks too which are useful for adding colours and textures.
Resin Pigments or Dye
You can use resin pigments, alcohol ink, or even acrylic paint to add colour. Check out our blog on ‘What can I add to epoxy resin‘ to find out more about your options.
For this project, we used opaque resin pigments from Create and Bloom Crafts. They’re super strong so you only need a tiny bit to create the most beautiful vibrant colours.
Heat Gun, lighter or isopropyl spray
Heat guns are a quick way to remove air bubbles from the resin.
Isopropyl alcohol spray is a great alternative that is less likely to cause damage to any mould and can also be used to help clean your equipment.
Protective equipment
Wear gloves, safety goggles, and work in a well-ventilated area not around children or pets. You may choose to use a respirator mask if your chosen resin is not free from VOC’s or toxins.
Always follow the safety instructions for the brand of resin you are using. They will vary by brand. If in doubt – contact the manufacturers.
Baby wipes
Great for cleaning up mess – baby wipes are always something we recommend having close by.
Optional
We love using the Resiners Dual Mixer as it speeds up the resin mixing time.
How to make a resin cake stand
1) Mix your resin
Mix your resin according to your brand’s instructions. You should be looking for a clear and streak free crystal resin. Make sure you scrape the sides and bottom of your cup or when you come to pouring, un-mixed resin could make it’s way in to your mould and prevent it from curing properly.
Take note of the working time – this is the amount of time you have after mixing before your resin will start to thicken and set.
2) Add your colour
We separated our resin in to three cups to make three different coloured layers.
Using a lolly stick or cocktail stick can help you add small amounts of pigment at a time. Remember to keep to 10% or less colour to resin. Any more and your resin might not cure.
TIP: To work out how much resin you need for each layer, pour water into the mould then pour the water back into a measuring cup to measure the weight or volume. Make sure your mould is completely dry before adding your resin.
Ensure you mix your colour thoroughly or you might have an uneven streaky finish.
3) Pour in to the mould
Pour slowly in to your tray ensuring you fill all edges of your mould. You can use a silicone stir stick to ensure you’ve not got any air bubbles around the edges. Tapping your mould also helps.
You can use alcohol spray or heat gun to reduce bubbles if necessary.
TIP: We find that if you overfill your mould, sometimes it can be difficult to add the screws.
4) Cure & un-mould
Make sure you don’t rush to un-mould. Wait your resin brand’s full curing time. Your resin should easily pull from the mould edges.
IMPORTANT – As cake stands are thin, it can take longer for your resin to reach full cure. You can find that if you do not wait long enough, then your layers will bend easily, especially when it’s hot. Always check to see when your resin brand suggests your resin will be fully cured. Some may take up to 30 days.
Add your posts
Your posts should come with felt or material washers. Ensure you use these as it will protect your resin from getting scratched and will enable the screws to be fastened tighter.
Resin Cake Stand Ideas


